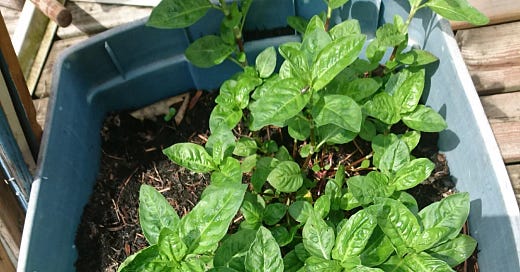
Last year I planted thirty Japanese indigo plants in a blue tub, and tended to them daily as they grew. Each day I rose early, composed notes, and researched the plants’ needs. I observed how the plants ‘talked’ to me. The way that they would tilt their leaves if they were thirsty, or distressed. How quickly they grew after being pruned, or cut down. I diligently collected the seeds for fear that they would spread and infest other gardens.
Last week I wrote about the various ways that fresh indigo leaves, specifically from Persecaria Tinctoria, can be used to dye fabric. There was a brief overview of indigo vats, and the chemical interactions that allow indigo to colour cloth. I advise that you read that post before this one.
Lughnasadh
Once again my work is too long for email. If you want to read the whole article please click on the title or ‘open in browser.’
These are not directly harmful plants. They carry no poison, or thorns. It is simply that it is their nature to spread. As long as they are provided sunlight and water their nature flourishes. As their gardener, the catalyst for chaos was in front of me, and it was my duty to contain it. Suffice to say that my efforts were not in vain; however, seeds are small and can slip through the cracks.
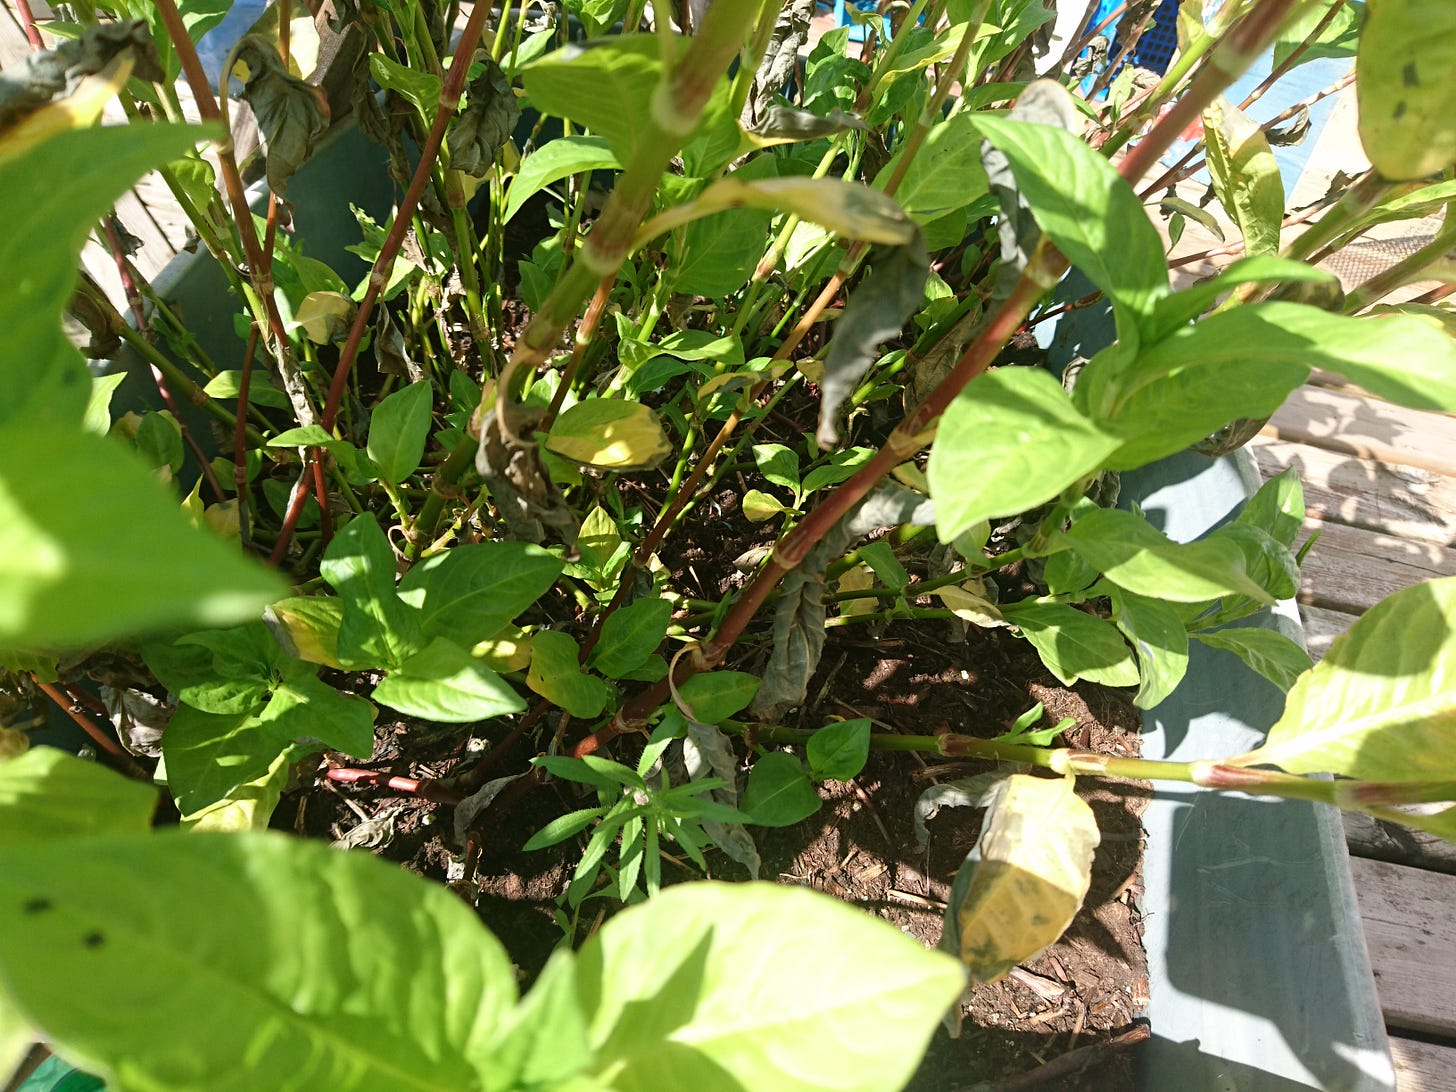
This May some indigo plants self seeded into the same blue bucket, and in some nearby patches of soil. One peculiar place was in the dirt accumulated between two buckets, where one sprout attempted to get a good start at life, and stopped suddenly. In the bucket I removed other plants, and allowed the three indigo sprouts to continue unabated. Over the summer I neglected them, only checking in on them weekly to examine their growth. I did not water them, nor fertilize, nor loosen the soil.
Months later, I realize that perhaps I should have scattered some of my stash of seeds into the bucket. My original intent was to have these plants provide seeds for me, personally, so that I could have a cohort of seeds for next year. It seems that I have some interest for next spring, and few seeds. Apparently Indigo seeds do not survive for more than one year. The last crop should be used to grow the next, with the remaining seeds lost. I did try to sell some of last year’s seeds, without any luck. Perhaps I should check if they will still germinate.
These three plants made the most of their opportunity, occupying the available space in their bucket and reaching out for more sunlight. They looked very healthy, with a good green colour. A little adversity would encourage the plants to adapt, and pass on those adaptations to their children. In my mind this is similar to tempering an egg. A little heat here, a little drought there. It would result in a small but hardy harvest of seeds ready to use next year. Currently, I am examining my plants and realizing that I forgot an important part of their year long cycle: repeated harvesting.
Now that the year has moved past Lughnasadh, it is no longer the ideal time to dye with fresh leaves. The heat and daylight encourages the plants to focus on other, more autumnal matters. A few weeks after Lughnasadh expect to see flower bloom. Bees will visit at dawn to dance across the tiny petals and abscond with their treasure of nectar.
I need to harvest these plants. The canopy looks exhausted. It needs pruning, but I don’t want to ‘waste’ that precious pigment. What can I do with these weaker leaves? The yellowed ones have lost their chlorophyll. The dead ones that have oxidized and turned blue. I do not have the time, space, nor patience to turn them into sukumo, and the result would be too small.
Would a fermentation vat use these leaves?
Last week we briefly touched on an indigo fermentation vat. Salamander Studios mentioned this to me. It is a new concept. Fermentation is used in the Sukumo process to compost the leaves and maximize the retention of indigo pigment per gram of leaf(Fibreshed 2017). Considering my knowledge of food fermentation (sourdough, alcohol, meand) it makes sense that a fermentation environment would create an anaerobic (without air) environment.
Is there a difference between anaerobic and reduction? I don’t know, but would guess that it is dependant on the ability for reduction reactions to occur
Last week, I noted that it seemed odd that a fermentation environment would occur in an alkaline environment. After a little investigation I found a paper detailing some the microbial environments.1 I love the world sometimes.
Microbial Communities Associated With Indigo Fermentation That Thrive in Anaerobic Alkaline Environments
This fermentation process is carried out by naturally occurring microbial communities and occurs under alkaline, anaerobic conditions. Therefore, there is uncertainty regarding the fermentation process, and many unknown microorganisms thrive in this unique fermentation environment. Until recently, there was limited information available on bacteria associated with this fermentation process. Indigo reduction normally occurs from 4 days to 2 weeks after initiation of fermentation. However, the changes in themicrobiota that occur during the transition to an indigo-reducing state have not been elucidated. Here, the structural changes in the bacterial community were estimated byPCR-based methods.2
I’m not done reading it yet, but the fact that the redution takes from 4 days to 2 weeks is reassuring. It’s warm enough to grow bacteria so I can leave the jars outside. This will use my leaves and be a fun experiment. Not to mention, fermentation vats are old school cool.
How should I make this vat?
As I previously calculated from Cheryl Kolander of Aurora Silks recipe,
In 1 litre of fermentation vat I need…
11.75 grams Indigo Powder (ergo, oodles of chopped up leaves)
4.99 grams used ground Madder (Rubia Tinctoria or Rubia Cordifolia)
4.99 grams Wheat Bran
29.97 grams Soda Ash3
1000.5mL 37-44*C warm rain water or chlorine filtered water
I’ve done some work fermenting liquids before. Looking at these proportions, I’d want to experiment with using twice as much Madder and Wheat Bran in the ‘starter’ jar to build up the bacteria faster. The indigo could be doubled, too. I would also heat the Wheat Bran gently to about 50*C for 15 minutes to get the bacteria groovin’ and break down some starches. Both the bacteria and the sugars/starches (bacteria food) are in both materials that and the madder, so add the madder, too. Allow it to cool to a reasonable temperature (or cool it with more water until it is 1L in volume) 27-32*C, and add the remaining materials. For scientific purposes both of these changes should be tested separately in different jars.45
First, which ingredient is limited? My lowest reagent is the used madder powder, of which I have about 20 grams. Which is actually plenty. I have piles of wheat bran, soda ash, and intend to split my harvest of leaves in half.
Next, what size of vat should I make? I have some 1L jars and some 2L jars. The variables need to be limited, so I should keep them in the same jar. 1L it is, which will allow me to continue ‘feeding’ the vat with the remaining materials.
I have some options
One jar will follow the normal recipe
the other will recieve lots of indigo leaves (weigh and record)
To learn if indigo leaves will increase the fermentation rate.
OR
One jar will follow the normal recipe and half of the indigo leaves
The other jar will follow the normal recipe and half of the indigo leaves, plus a total of 150% Wheat Bran
To learn if wheat bran will increase the fermentation rate.
Let’s go!
Why not? First I need to finish reading that paper. I’ll give making an indigo fermentation vat a try, especially if I am going to teach a class about dying with Indigo this autumn.
https://www.ncbi.nlm.nih.gov/pmc/articles/PMC6153312/
https://www.ncbi.nlm.nih.gov/pmc/articles/PMC6153312/pdf/fmicb-09-02196.pdf
https://aurorasilk.com/wp/2019/01/01/indigo-natural-fermentation-vat/
Lughnasadh
Happy August 1st! Lughnasadh is the grain harvest. Wheat, corn, barley, oats etc are ready to be harvested between now and Mabon, the Autumnal Equinox. The days slowly grow longer, plants begin to go to seed. All of my herbs are eager to create small blossoms. Bees happily take advantage of this opportunity to dance across innumerable tiny blooms, pollin…
https://blog.ellistextiles.com/2020/01/30/indigo-still-learning-and-at-last-indigo-fermentation/


