
This post is too long for email. Please click the title or “view in browser” to read the whole article.
Welcome to part four of what I hoped was a three part process. At this point I have a bit of “project fatigue.” This happens when a project of mine takes a long time, it keeps having bumps, or I have to make changes to the plan that add on more labour. All three have happened while I was working on this skirt.
After I assembled all of the side panels I tried on the skirt. Who wouldn’t? It fits like a dream. I love the fit and flare, the drape of the hem, the flow of the cloth as I walk up and down stairs. The twirl. Unfortunately the handkerchief cotton/linen is a little too transparent. I can clearly see where my socks end, not to mention certain other undergarments. This transparency won’t do.
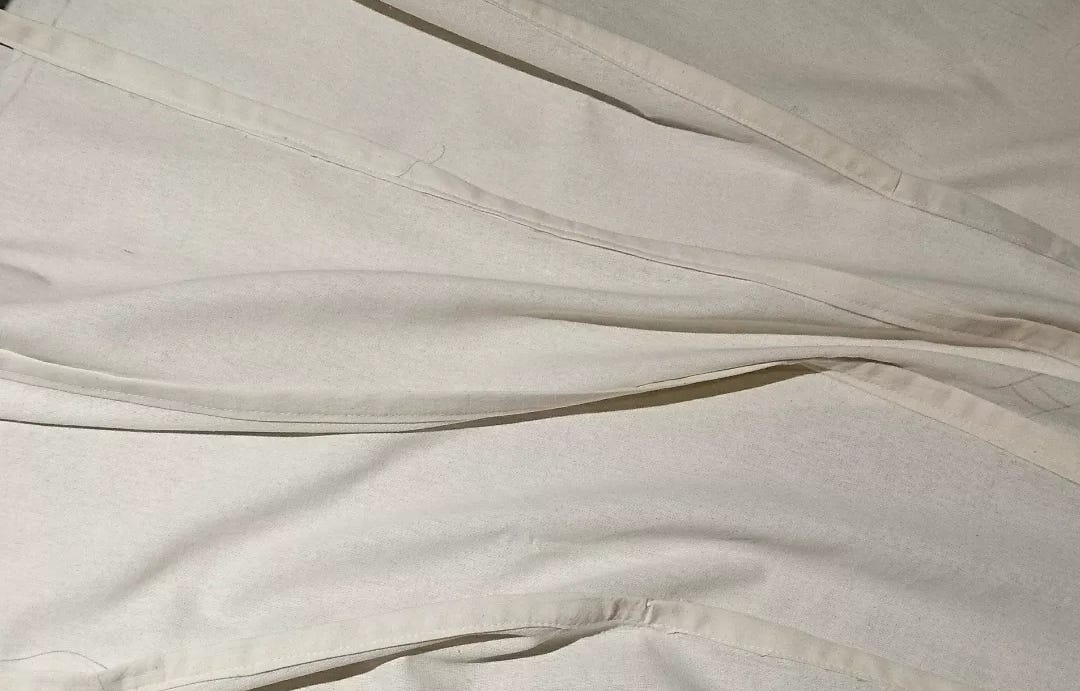
This requires that I make a lining.
The lining could be the entire length of the skirt. That is 1) too much work, cloth, and time, 2) would change the flow of the skirt, and 3) I don’t want to make a full length lining. It is important to be honest with yourself when working through project fatigue. If I don’t then I burnout, and the project will forever be delegated to the “unidentified fabric object (UFO)” corner. It will be lost and forgotten. A project full of guilt and half forgotten plans. I don’t want this, so I am honest with myself about my expectations for the project.
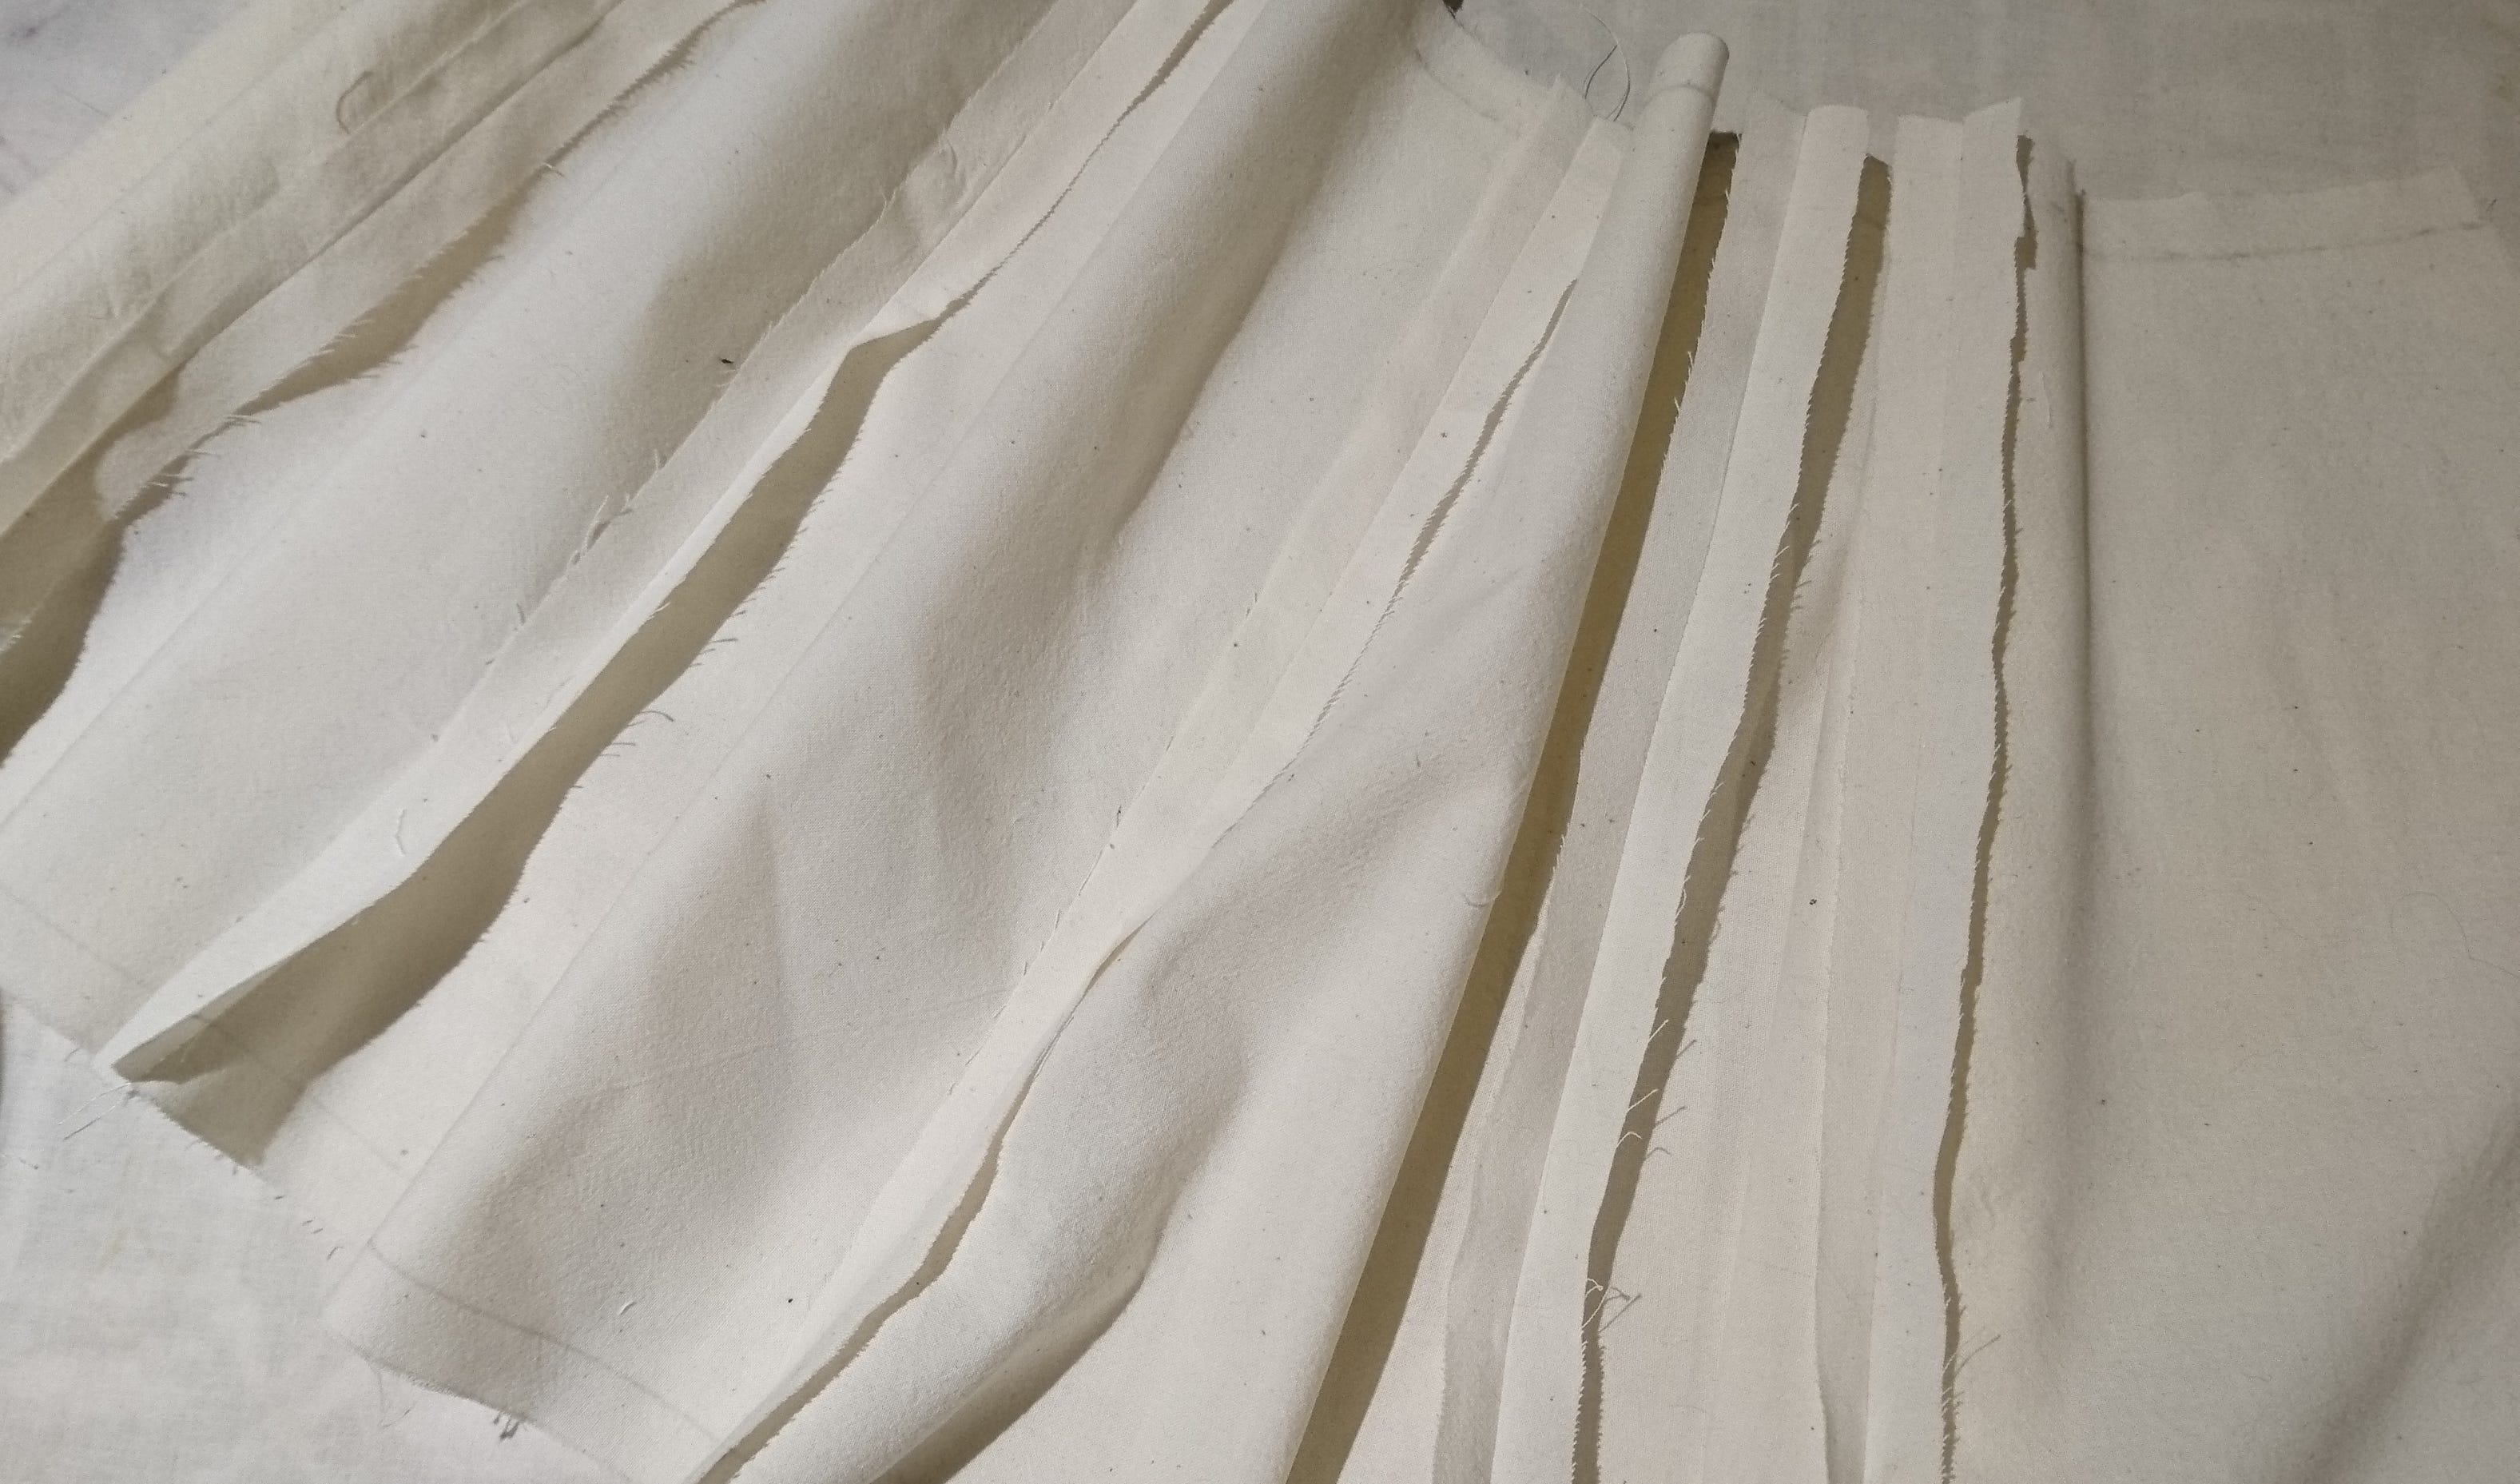
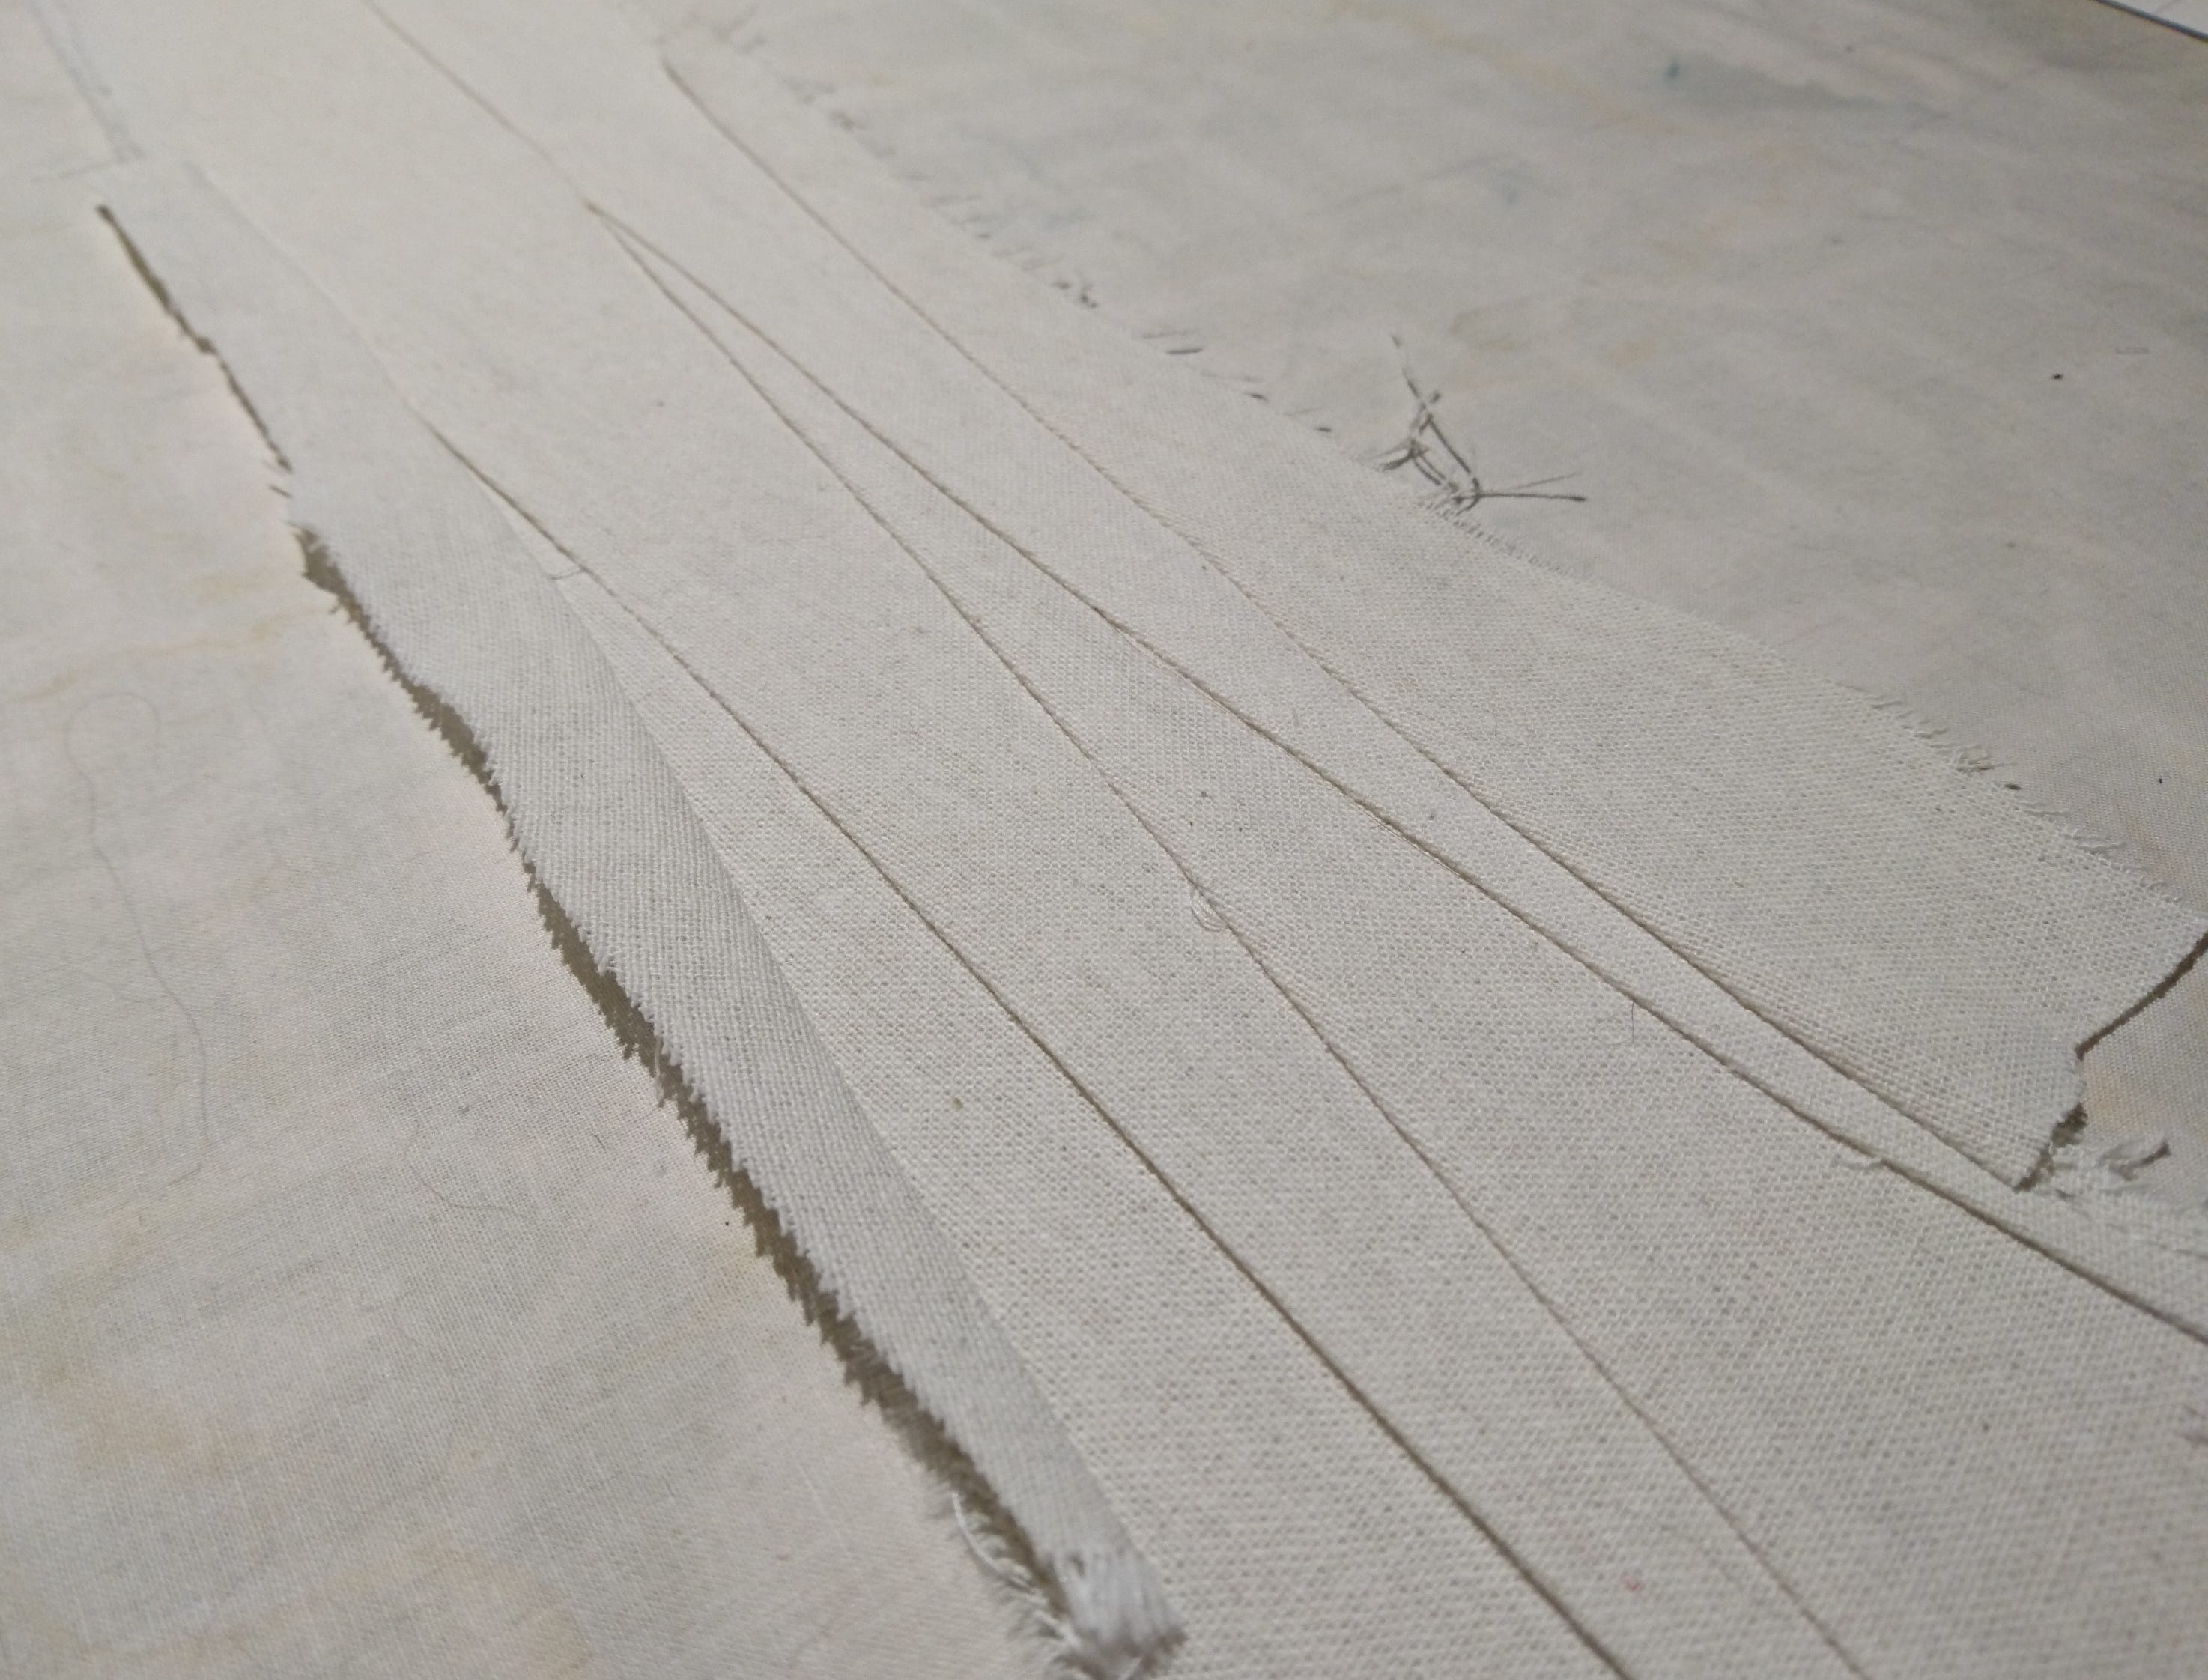
For the lining I measured on my body where it should end. I measure without and with the skirt, and settled on 30cm from the marks for the waistband. To make the lining pattern I take one of the four panels that I printed off (thank goodness I did print all four) and marked 30cm + seam allowance from the centre of the waistband. Then I mark the side seams. The three points were joined by the gentle curve of a curve ruler.
I cut out the new panel, trace it onto some thin cotton cloth, and sew the panels together. After each seam is sewn I press it outwards, and sew all seams together1. Then I hem it by folding the hem up along the marked line and sewing the over the raw edge with a wide zigzag stitch2. It’s not the most polished work, but I don’t need it to be.3
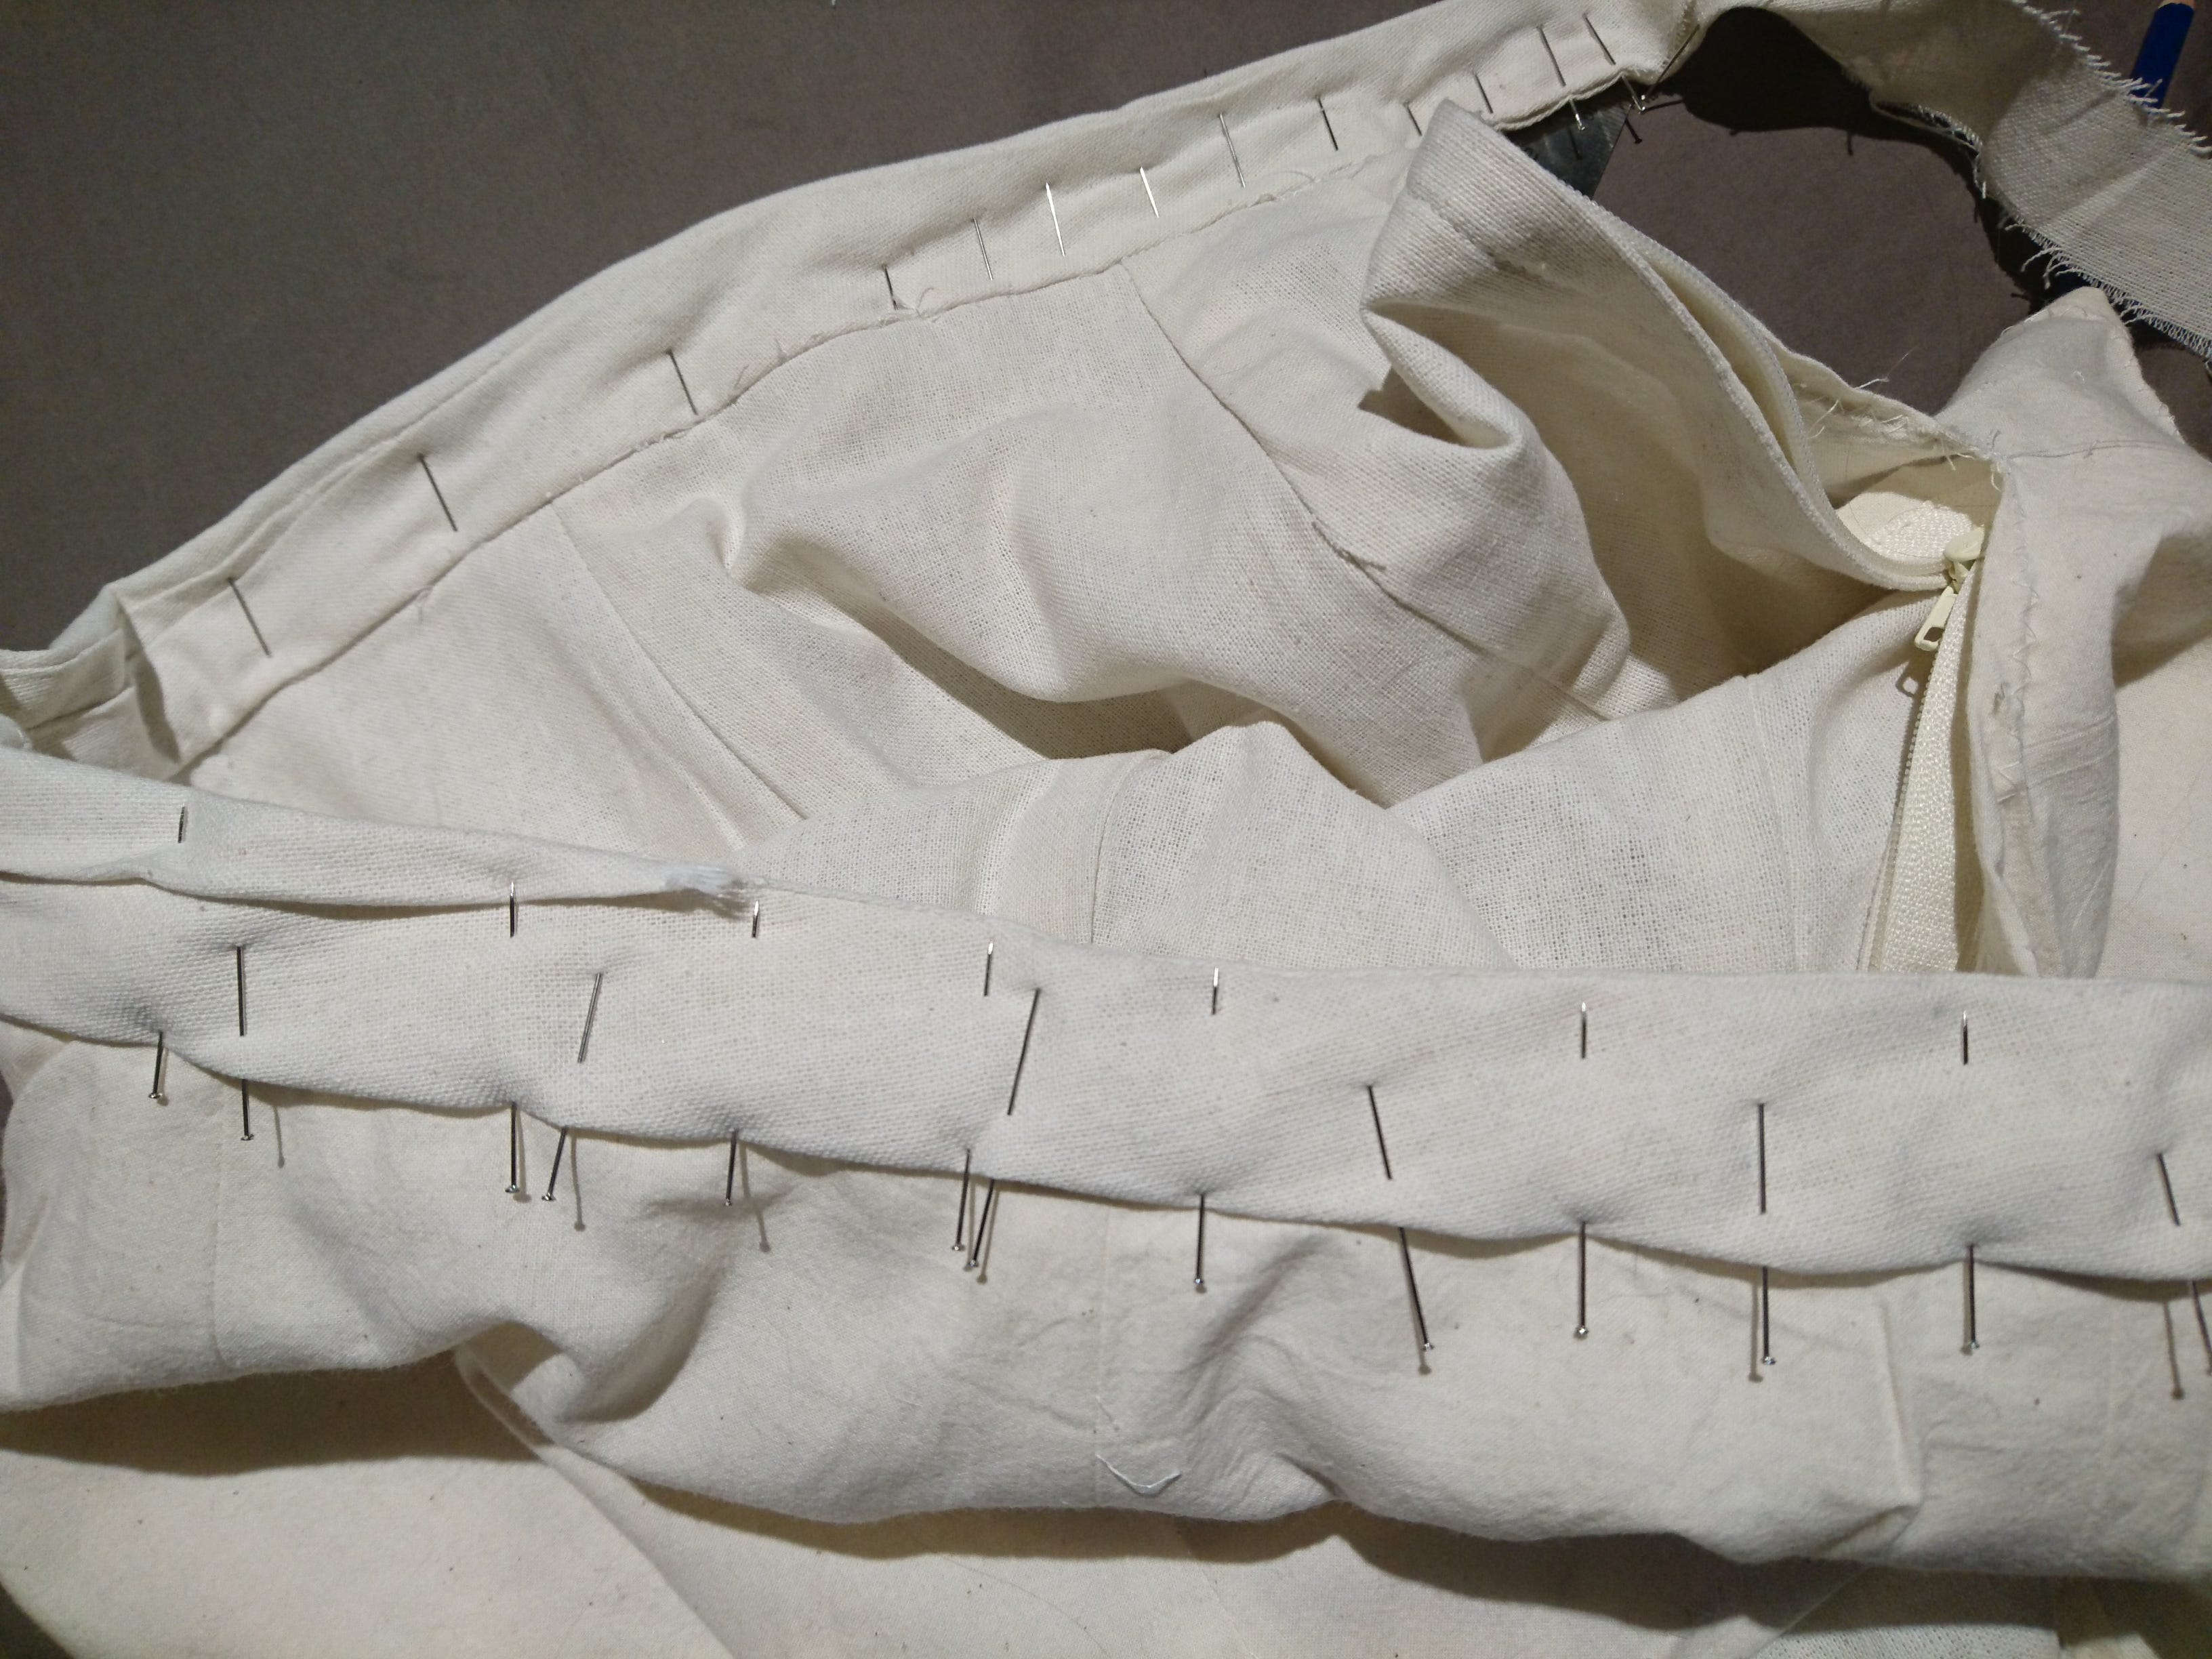
With the lining done I pin it to the main skirt. The raw edges are facing the skirt as I pin first the seams into place, and then the centre of each panel. If I feel fancy later I can tack the lining to the seam sheaths by hand.
Onto the waistband.
Ho… I am going to assemble the scraps, and add them on top of a cotton waistband4. This will make the waistband quite thick, but I am not concerned about that. The diagonal seams must be added together first, followed by the horizontal seam. When two cloths are “flat lined” together one can crush the other when bent over5. My attempt to fix that is to iron them in half before attaching it to the waist of the skirt. Let’s call it somewhat successful, because I am certain that the excess bulk on the cotton/linen cloth’s seams impacts how the cotton acts. Either way, first iron the waistband sides in, then pin skirt, lining, waistband 1, and waistband 2 together. Re-pin it on the proper side of the cloth, ordered lining, skirt (wrong sides facing each other), waistband 2 (cotton/linen), and waistband 1 (cotton). The waistbands should have one side aligned to the edge of the skirt at the zipper.
With all of the cloth nicely aligned to the skirt, sew it 0.5 inches from that edge. Then iron that seam, fold in half and pin the last raw edge under the hem on the inside of the skirt. It should be covering the stitch line by 2-4mm. Next sew it from the right side of the skirt, exactly over your previous stitch line. This is called a “stitch in the ditch.” Take it slow. In this particular moment, “slow is smooth, smooth is fast.” No one wants to have to go back and fix this stitching. Periodically check the underside as you go, so that you can check errors. Continue over the zipper and also sew together any extra length, because this will be for the button hole6.
Aesthetic test
I try the skirt on, and find that the lining is jarring. It’s very obvious where the lining ends, and the skirt continues. I don’t like that. I’m going to attach some lace to the hem of the lining and try to make it have a ‘gradient’ of opacity. The lace is from the fabric store, which means that it has sizing in it, and needs to be washed. I place it in cool water (because it is polyester) and use a little Eucalan because I don’t want to rinse it. Did I mention that I have project fatigue?
Just because I have a little project fatigue doesn’t mean that I skip steps, simply that my “tolerance” of what is acceptable expands to “less than perfect is okay, too.”
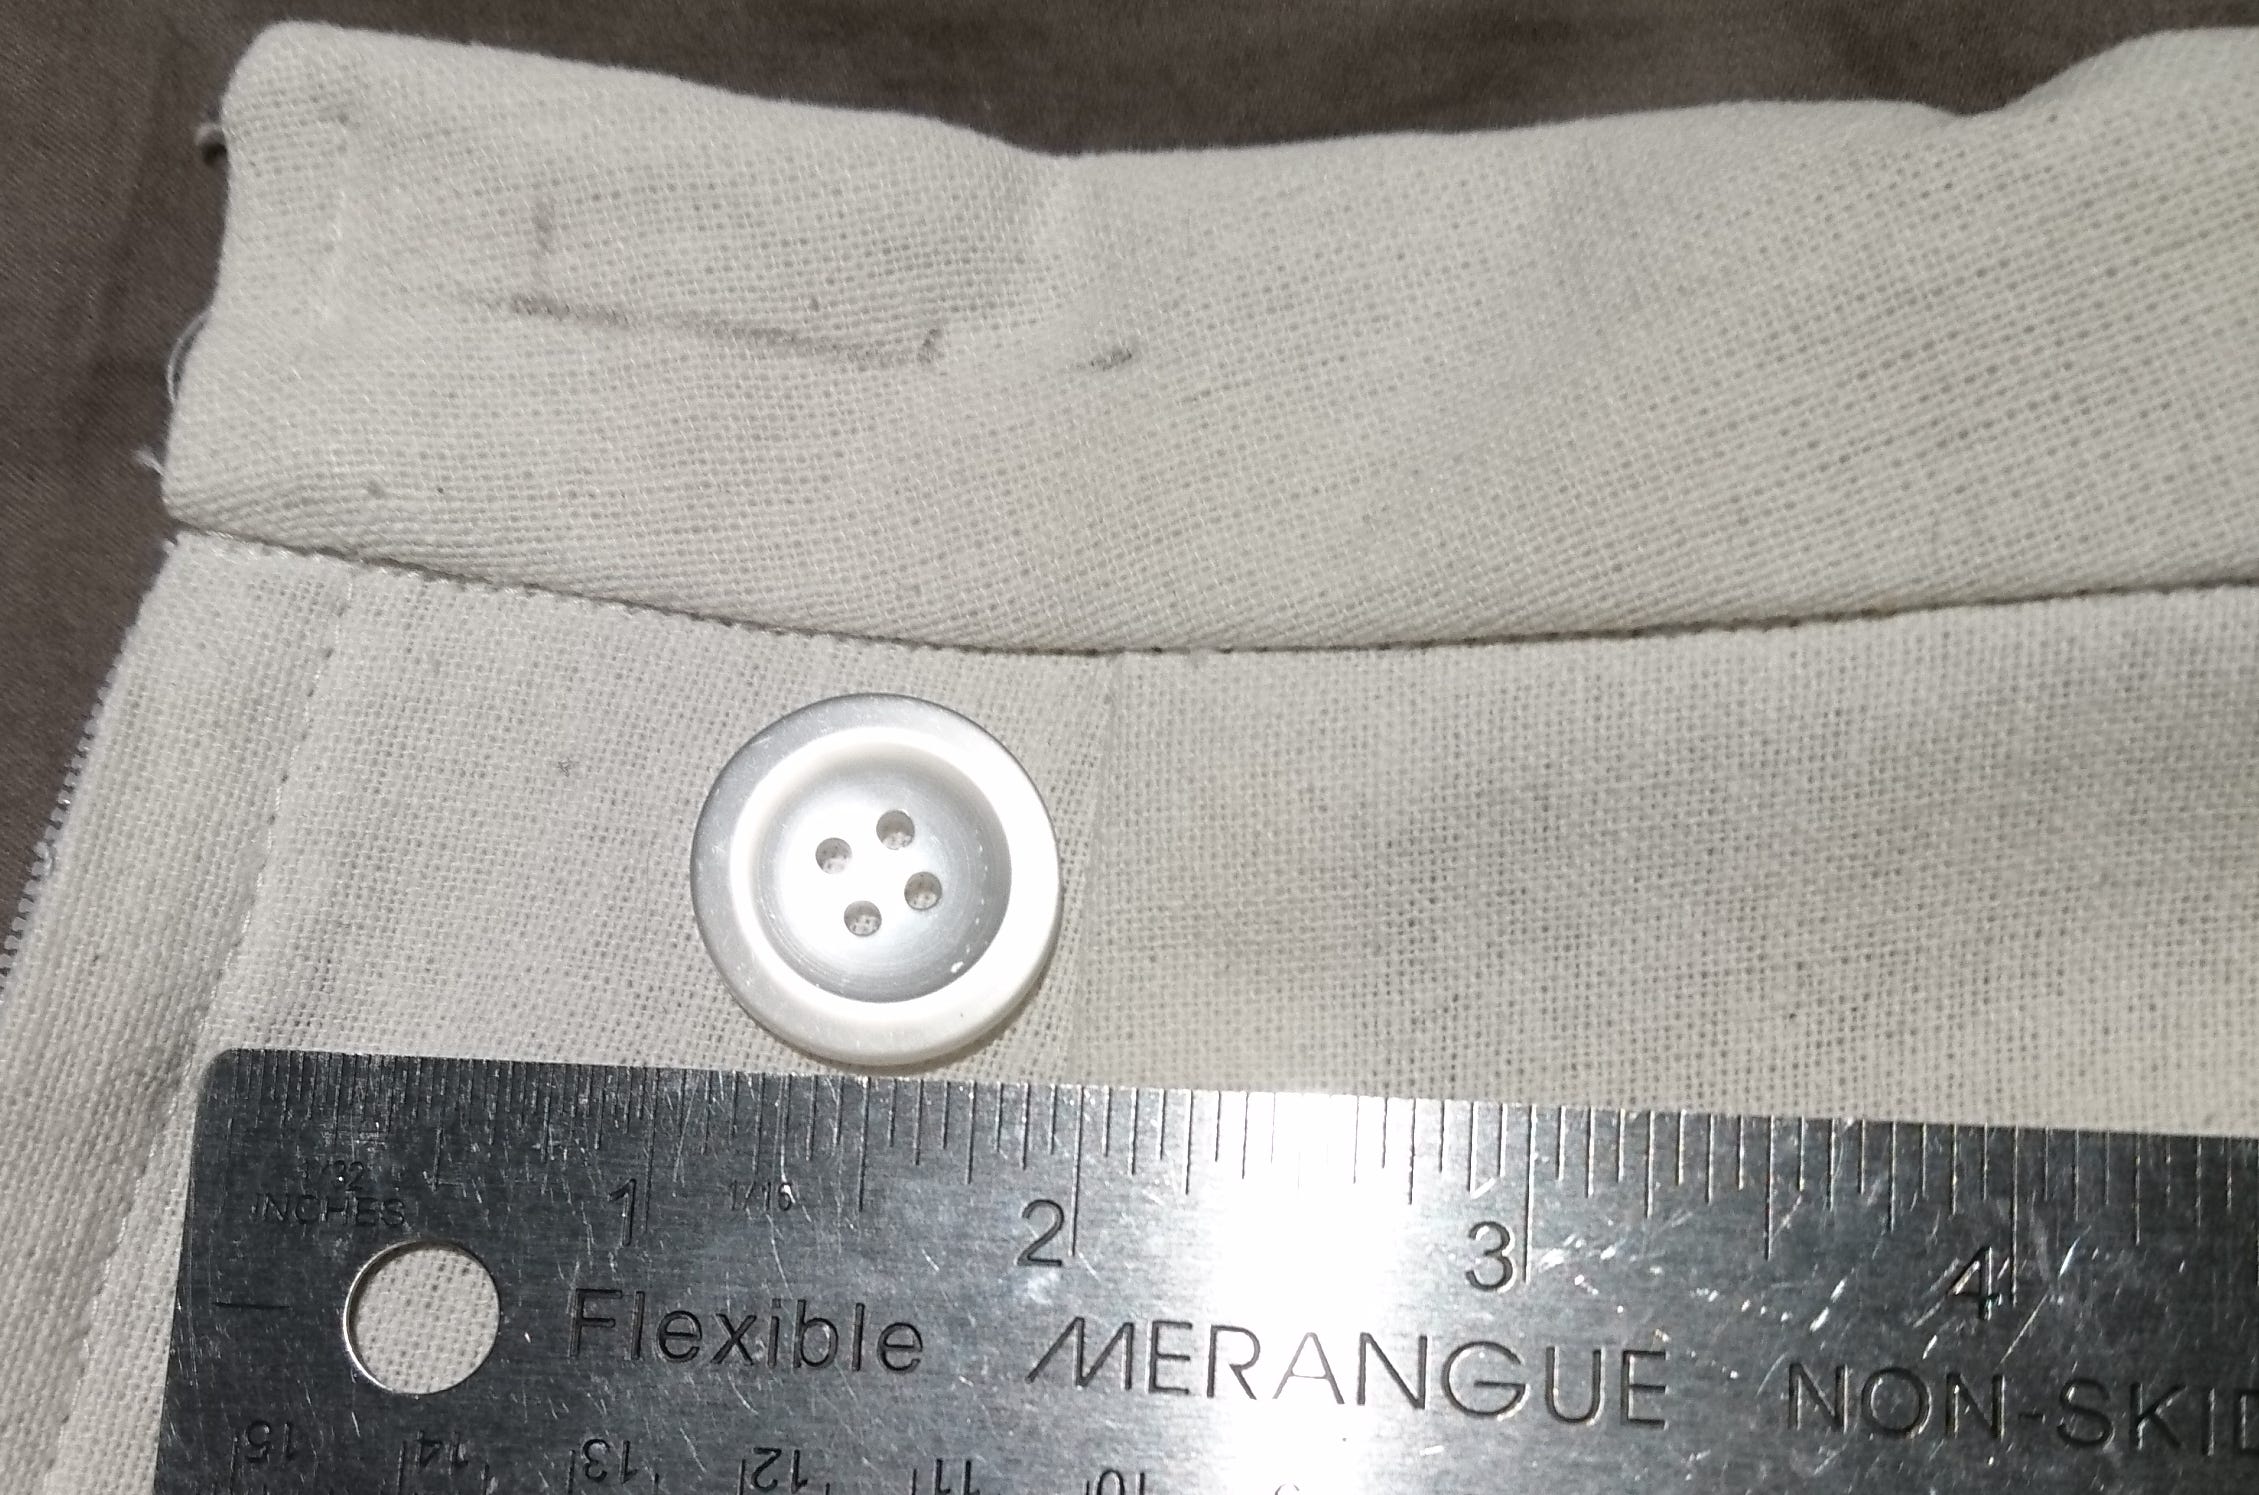
While the lace soaks I make the button hole. It’s less scary than you’d expect. The hole goes on the part of the waistband that has the vertical seam allowance aligned with the zipper, about 2cm in from the edge. The extra cloth that extends past the zipper will hold the button. Measure the diameter of the button (or read the packaging). Draw a line perfectly centred on the height of the finished and ironed waistband7. Yes, my measurement units are being mixed. This is what happens when you’re a Canadian, because you have to learn both.
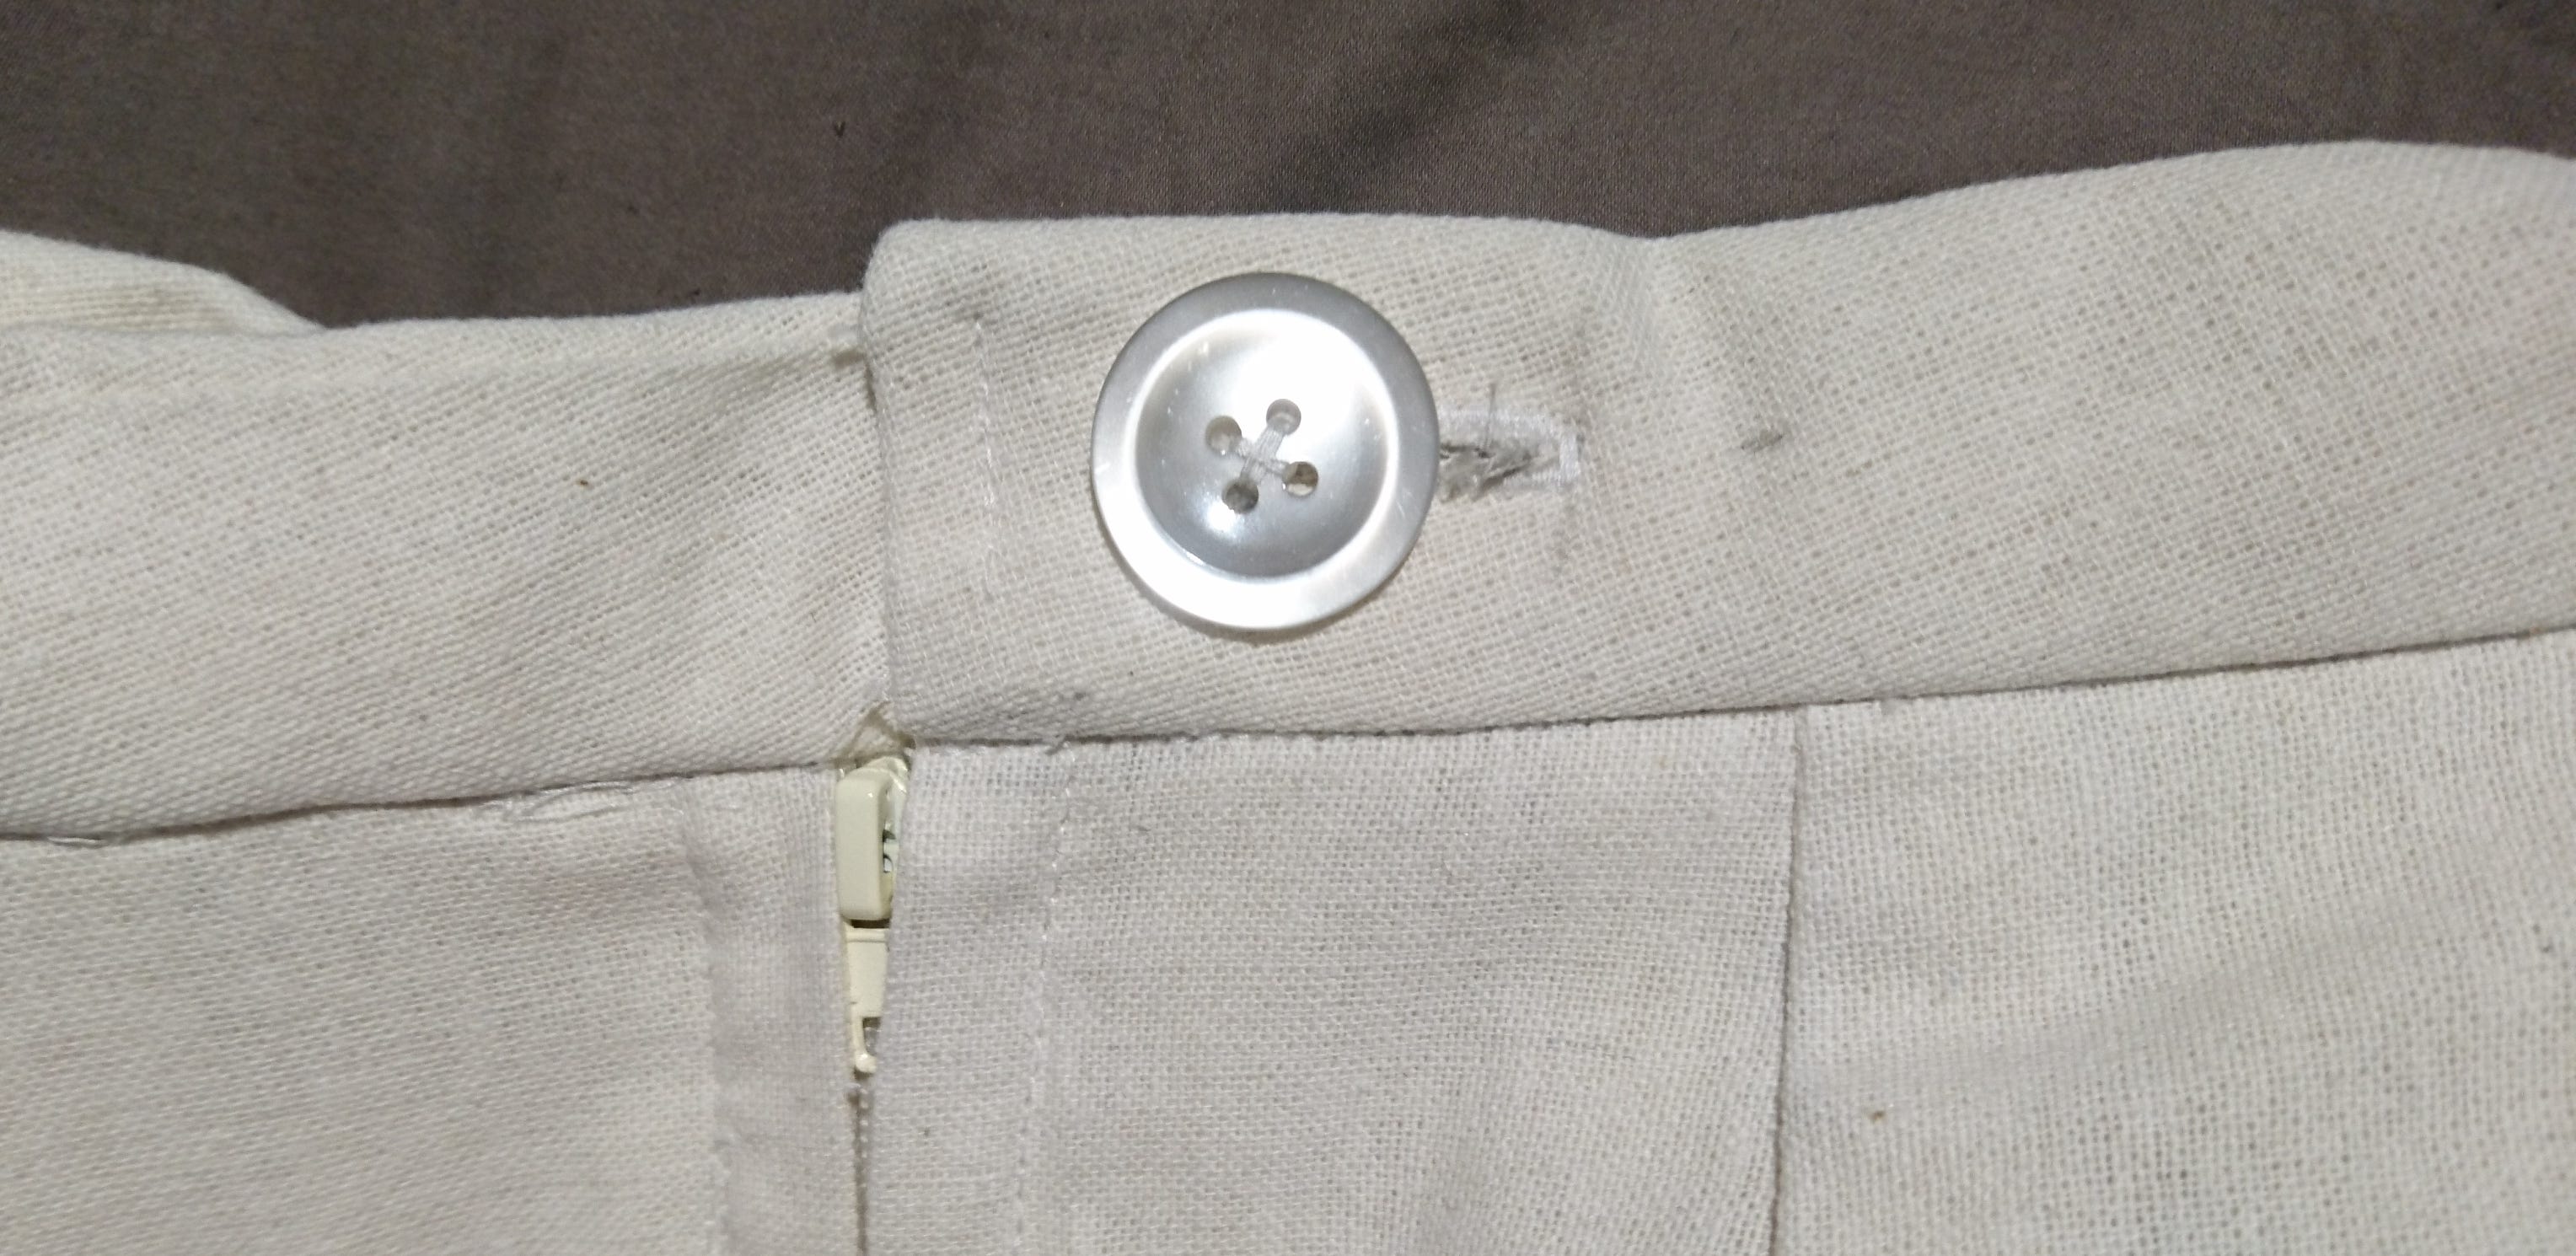
Use the button hole settings on your sewing machine (a really short narrow zigzag) and go around the line that was made. If uncertain, follow the steps in the sewing machine’s manual, and make a couple of samples before cracking onto the real McCoy. Ensure that there is a lot of thread surrounding the marked line, because the next step is to cut the cloth along that line.8 Don’t worry if it looks a bit messy. The button will cover most of the work. Then I do up the zipper, align the waistbands with the hole on top, and draw a point — an X — somewhere between the zipper side and centre of the hole. It might look like it is in an odd spot, but not everything will be perfectly centred every time.
This mark is where the button will go
When I sew a button on I do it by hand. I’ve never done it by machine, and probably wouldn’t want to. Hand sewing is slower, but it can be more precise. That control is something that I want when attaching my buttons. After I anchor my thread in the cloth I create and X on the underside of the cloth with thread. While sewing my button holes I hold a thick coin, preferably a nickel, underneath to create space between the button and the fabric. I sew through the hole onto the far side, pull through, and back up through the adjacent hoe to the opposing hole. This makes an X, which I find fashionable. While sewing I don’t tug hard on the thread. It should be just gently snug.
After there is a sufficient amount of thread on the button I feed the needle under the button but not into the cloth. I wind the thread around under the button. Then I use back stitches to anchor the thread, bury the tail in the waistband, et voila! One button.
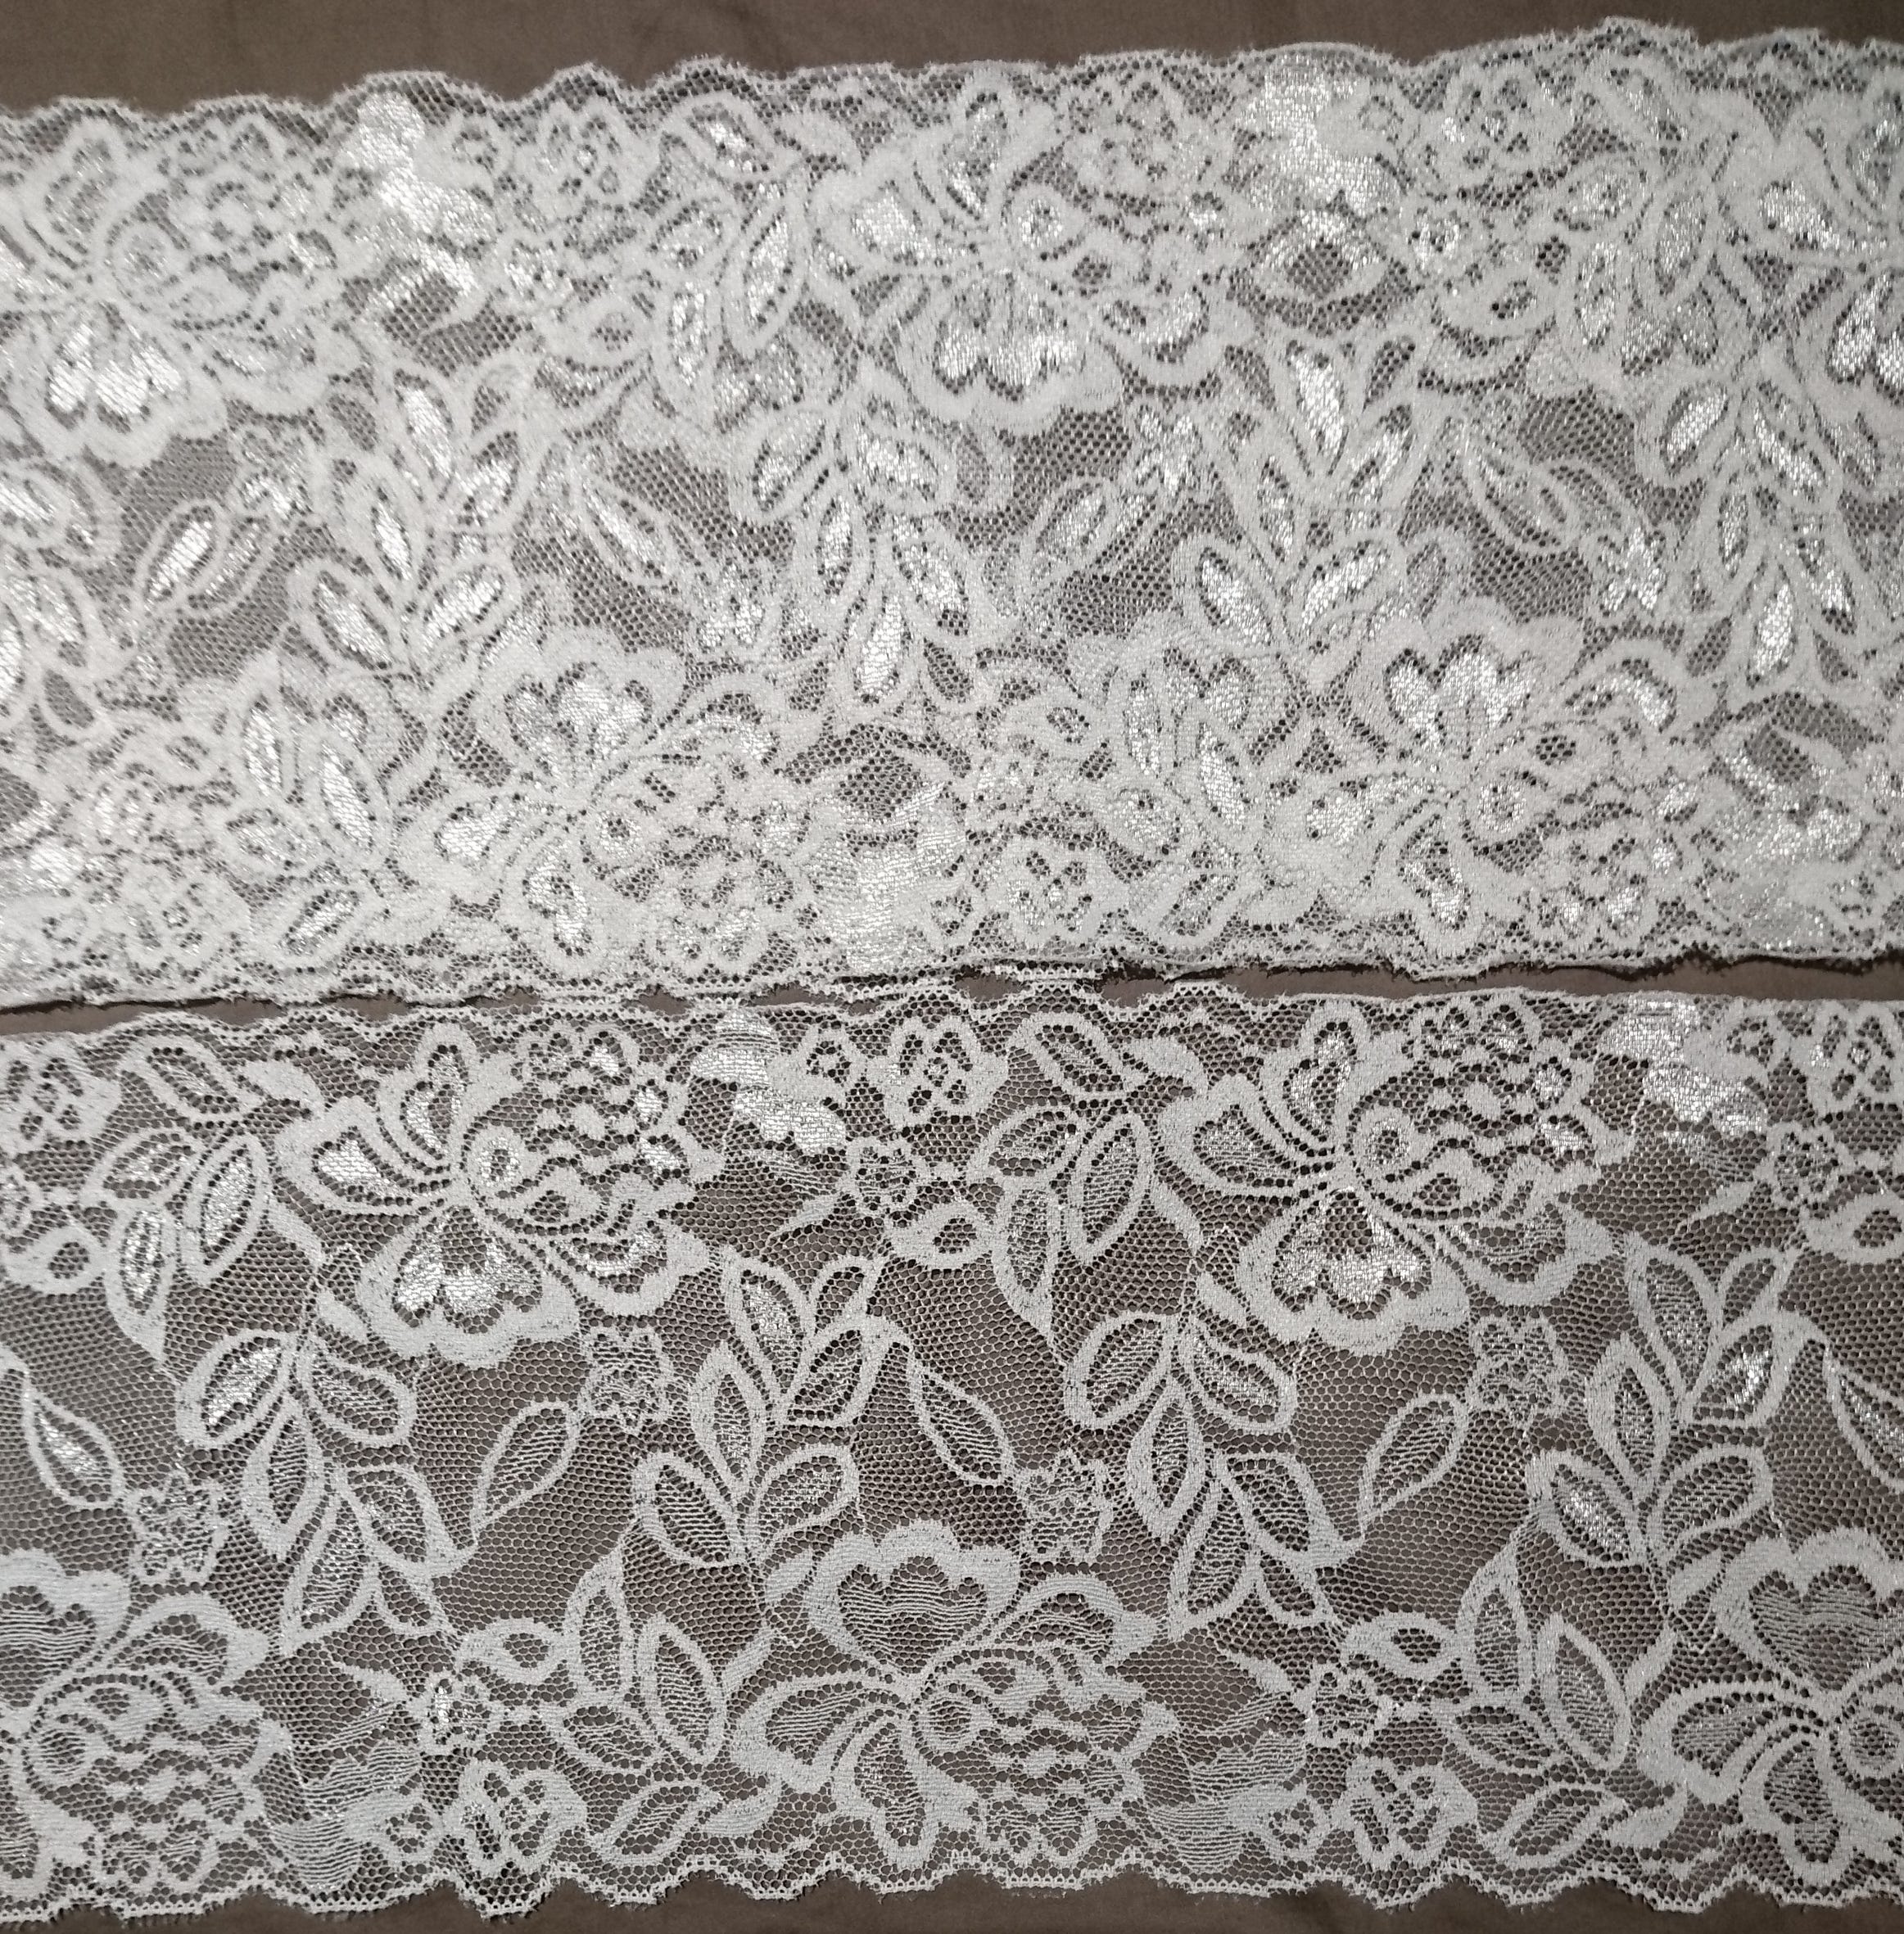
Meanwhile, the lace was hanging to dry
The lace is a polyester blend, and because I hung it straight I don’t need to iron it.9 At the hem of the lining the side seams flare outwards. I use the second half of the cut pattern to measure how much lace I want to use. I lay the lace so that the bottom of the lace has a nice curve, the top is about 0.5inches above the paper (because we cut the seam allowance out, too), and the top has more length than the measurement across the top of the paper. This gives me an estimate of how much material I should gather or dart inwards to create the same ‘slope’ that the side seams have.
I’m not sure if I should do two layers of lace, one layer, or two then one layer.
After I pin some lace onto the lining I view a single layer in front of the mirror. Does it give me the ‘gradient’ that I want? Does it look pleasing? How much detail can be seen through the cotton/linen cloth? I wear a lot of striped socks, so I donn a high contrast striped affair and test that out, too.
After putting off the project for a few days I have worn the skirt sans lace for walks, with different socks, and around the house. After viewing the fabrics in multiple lighting conditions I conclude that one layer of lace is enough. I have to crate a fake hem on my pattern that is about the height of the lace + lining, establish how much would need to be gathered/pleated per panel, and multiply that by 6. I use the total length of the lace over 12 to figure out how deep each pleat should be, and tested both gathers and pleats. I pin the lace in place with many many pins, and attach it with a straight stitch.
Viewing it in the mirror leaves me pleased. In the future I would make many changes, but I am satisfied with this skirt for this project.
Finally!
A few photos and additional notes are below
Hello, I do not want many photos of myself on the internet for privacy reasons. Thus, anything of that nature, which will include try-on shots, shall be behind a paywall.
I will also add more in-depth information here about how I specifically choose to do certain parts of these projects.
Keep reading with a 7-day free trial
Subscribe to Oíche Rua to keep reading this post and get 7 days of free access to the full post archives.