Litha
Happy plants, experiments, and musings on how efficient tools make for efficient work.

I am writing this on the summer solstice. Litha (Li-ha) is the first of three harvests. This sabbat is the berry and greens harvest. Visualize early fruits, rhubarb, spinach, strawberries. Colour has returned to the land as the sun reaches its zenith. The plant life if flourishing. From this day onward the daylight shortens, the growth of plants will slow, and the summer heat will press down on us all. Even the strawberries will wither in the heat.
This is the end of the fresh spring rhubarb and spinnach season. Soon peaches, nectarines, plums, and strawberries will be harvested en masse. They will be eaten, turned into pies, jams, and roasted with meat. Savoury herbs have bountiful leaves ripe for plucking and drying. At this time of year herbs can be harvested and left to dry over the remainder of summer while still producing fresh leaves for preparing meals. There are numerous mints, basils, oregano, rosemary, and thyme in the backyard. Each one contributes to the plentiful leaves and stone fruit imagery that encompasses this sabbat.
My cat Nummite took a trip outside today, with permission. She, too, cannot bear the heat while the sun was high in the sky. Her harness training is progressing nicely, and Nummite is discovering how to ask to be let outside (with the harness on, of course). Nummite purrfers being in the company of a person while she spends time outside. Her fluffy figure enjoyed a morning romp in the garden, but her afternoon travels were swiftly aborted as she stood at the back door and requested to be let inside.
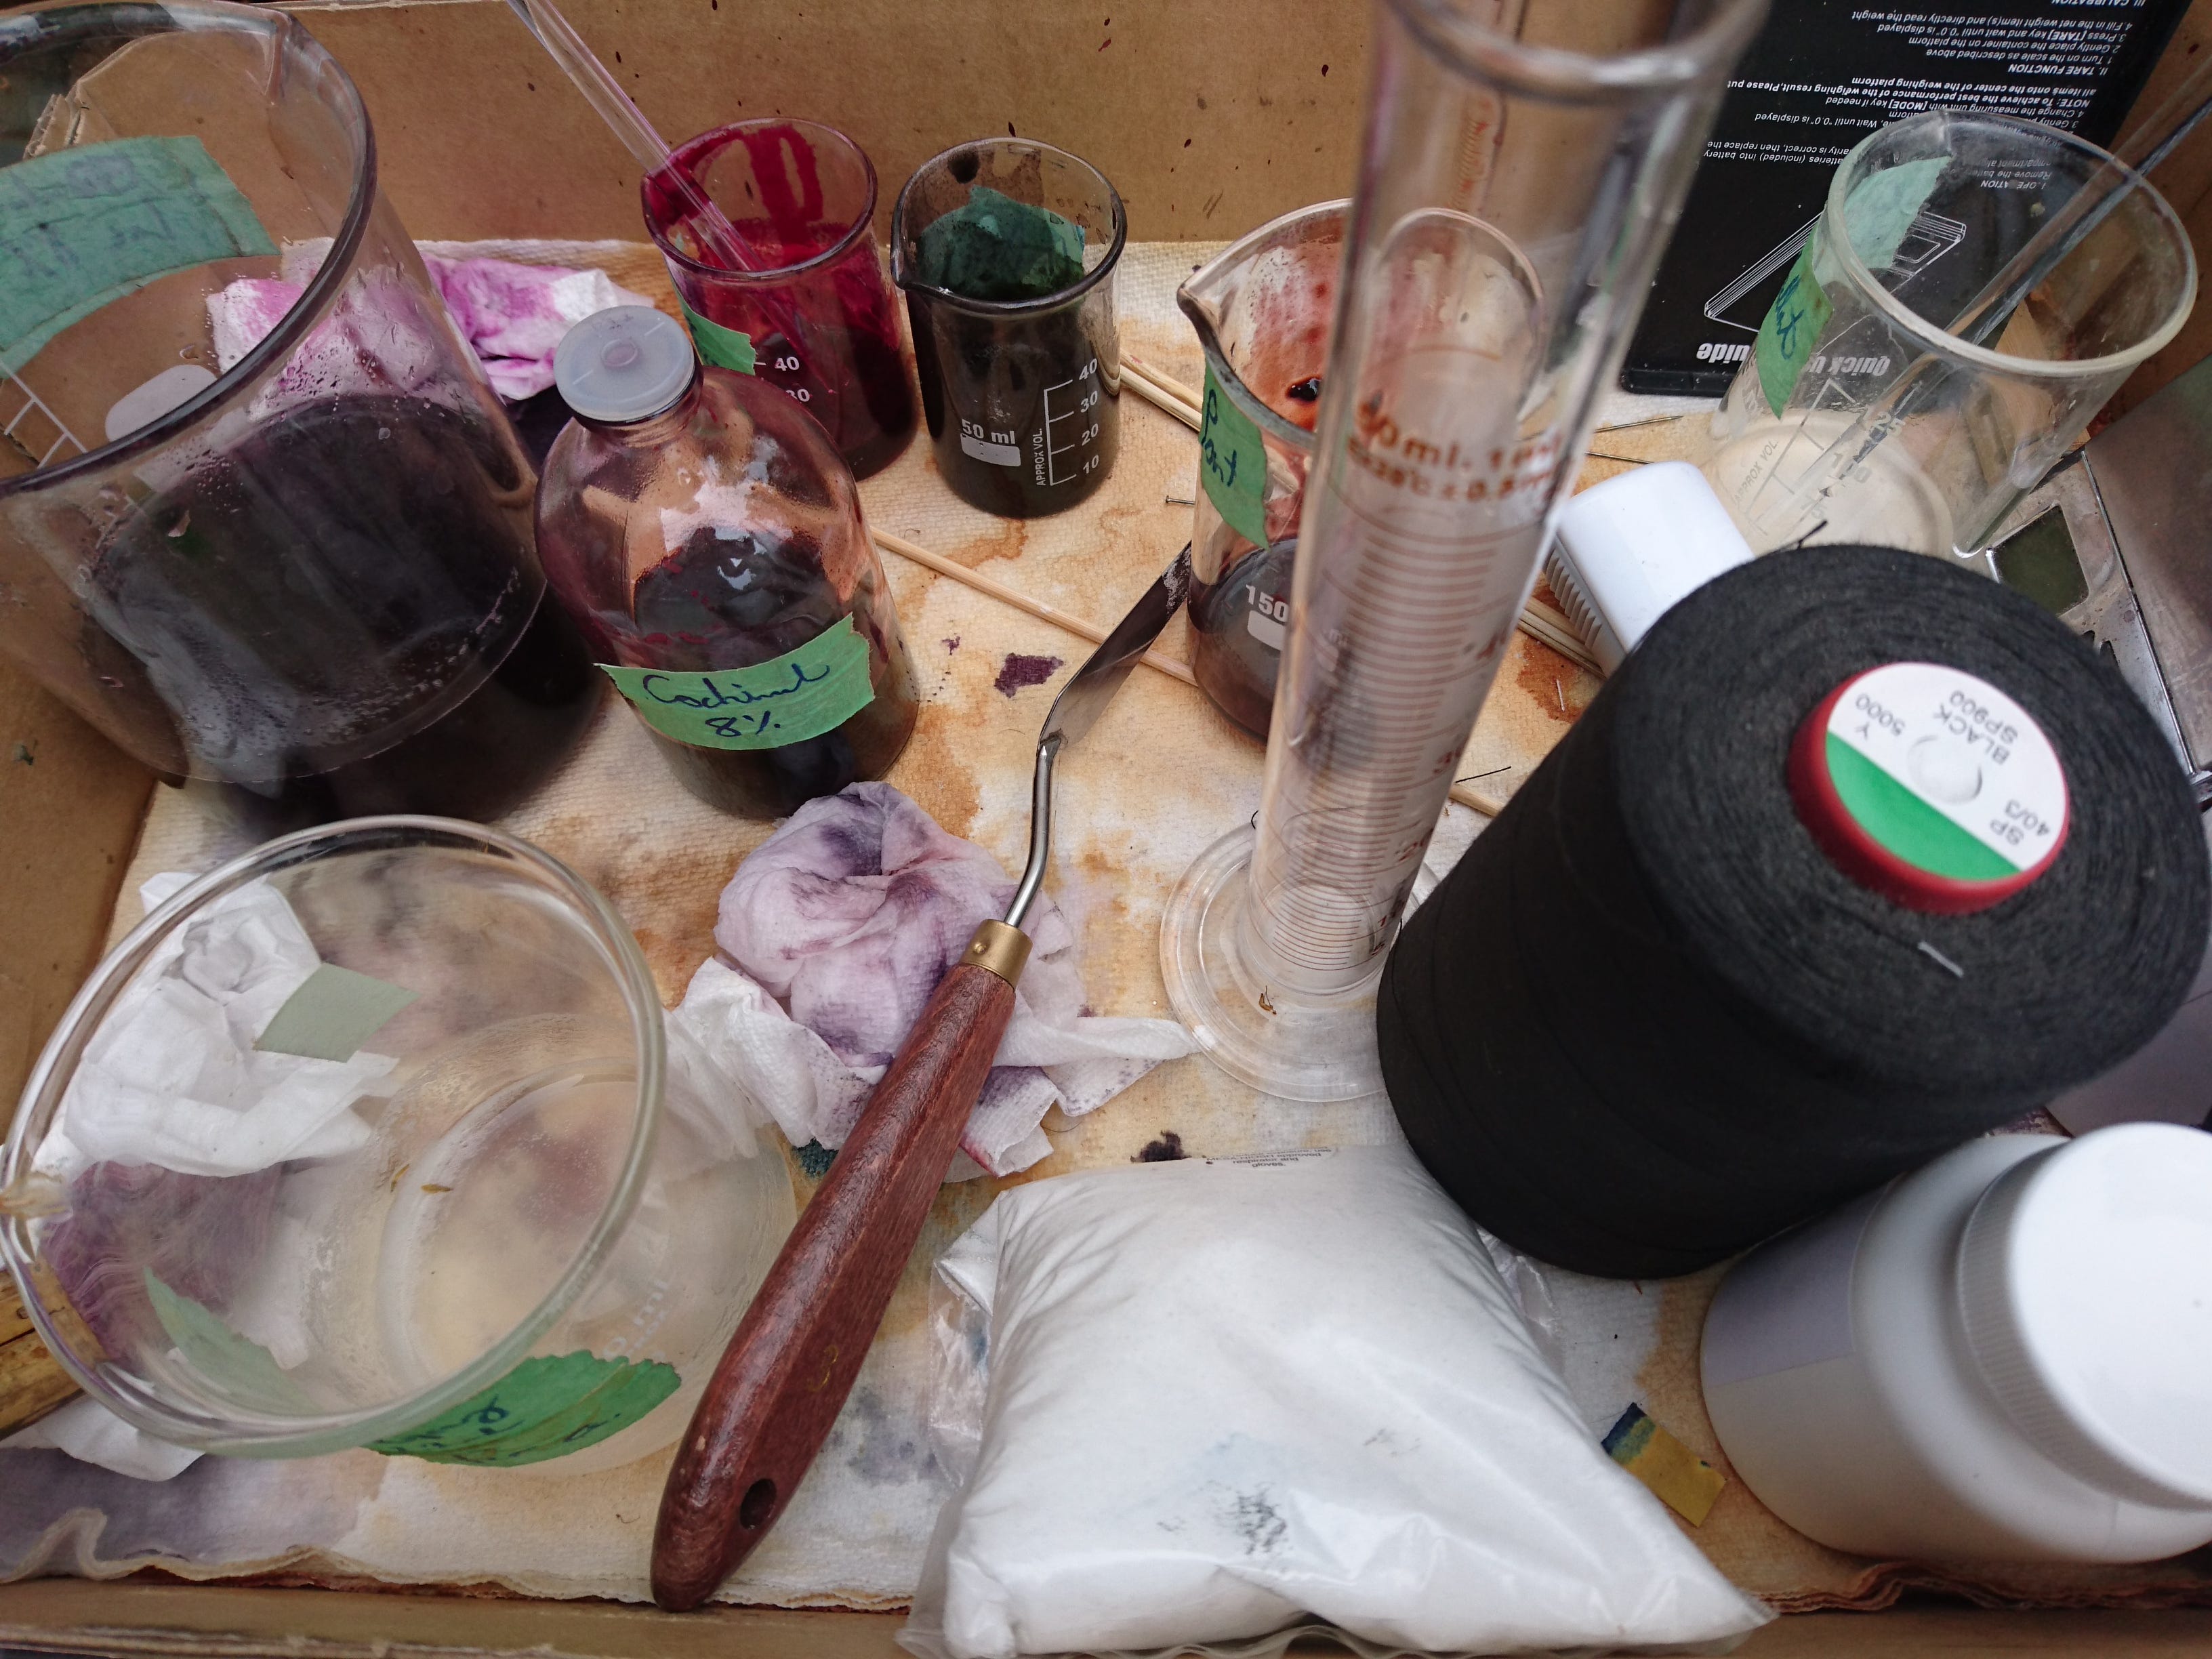
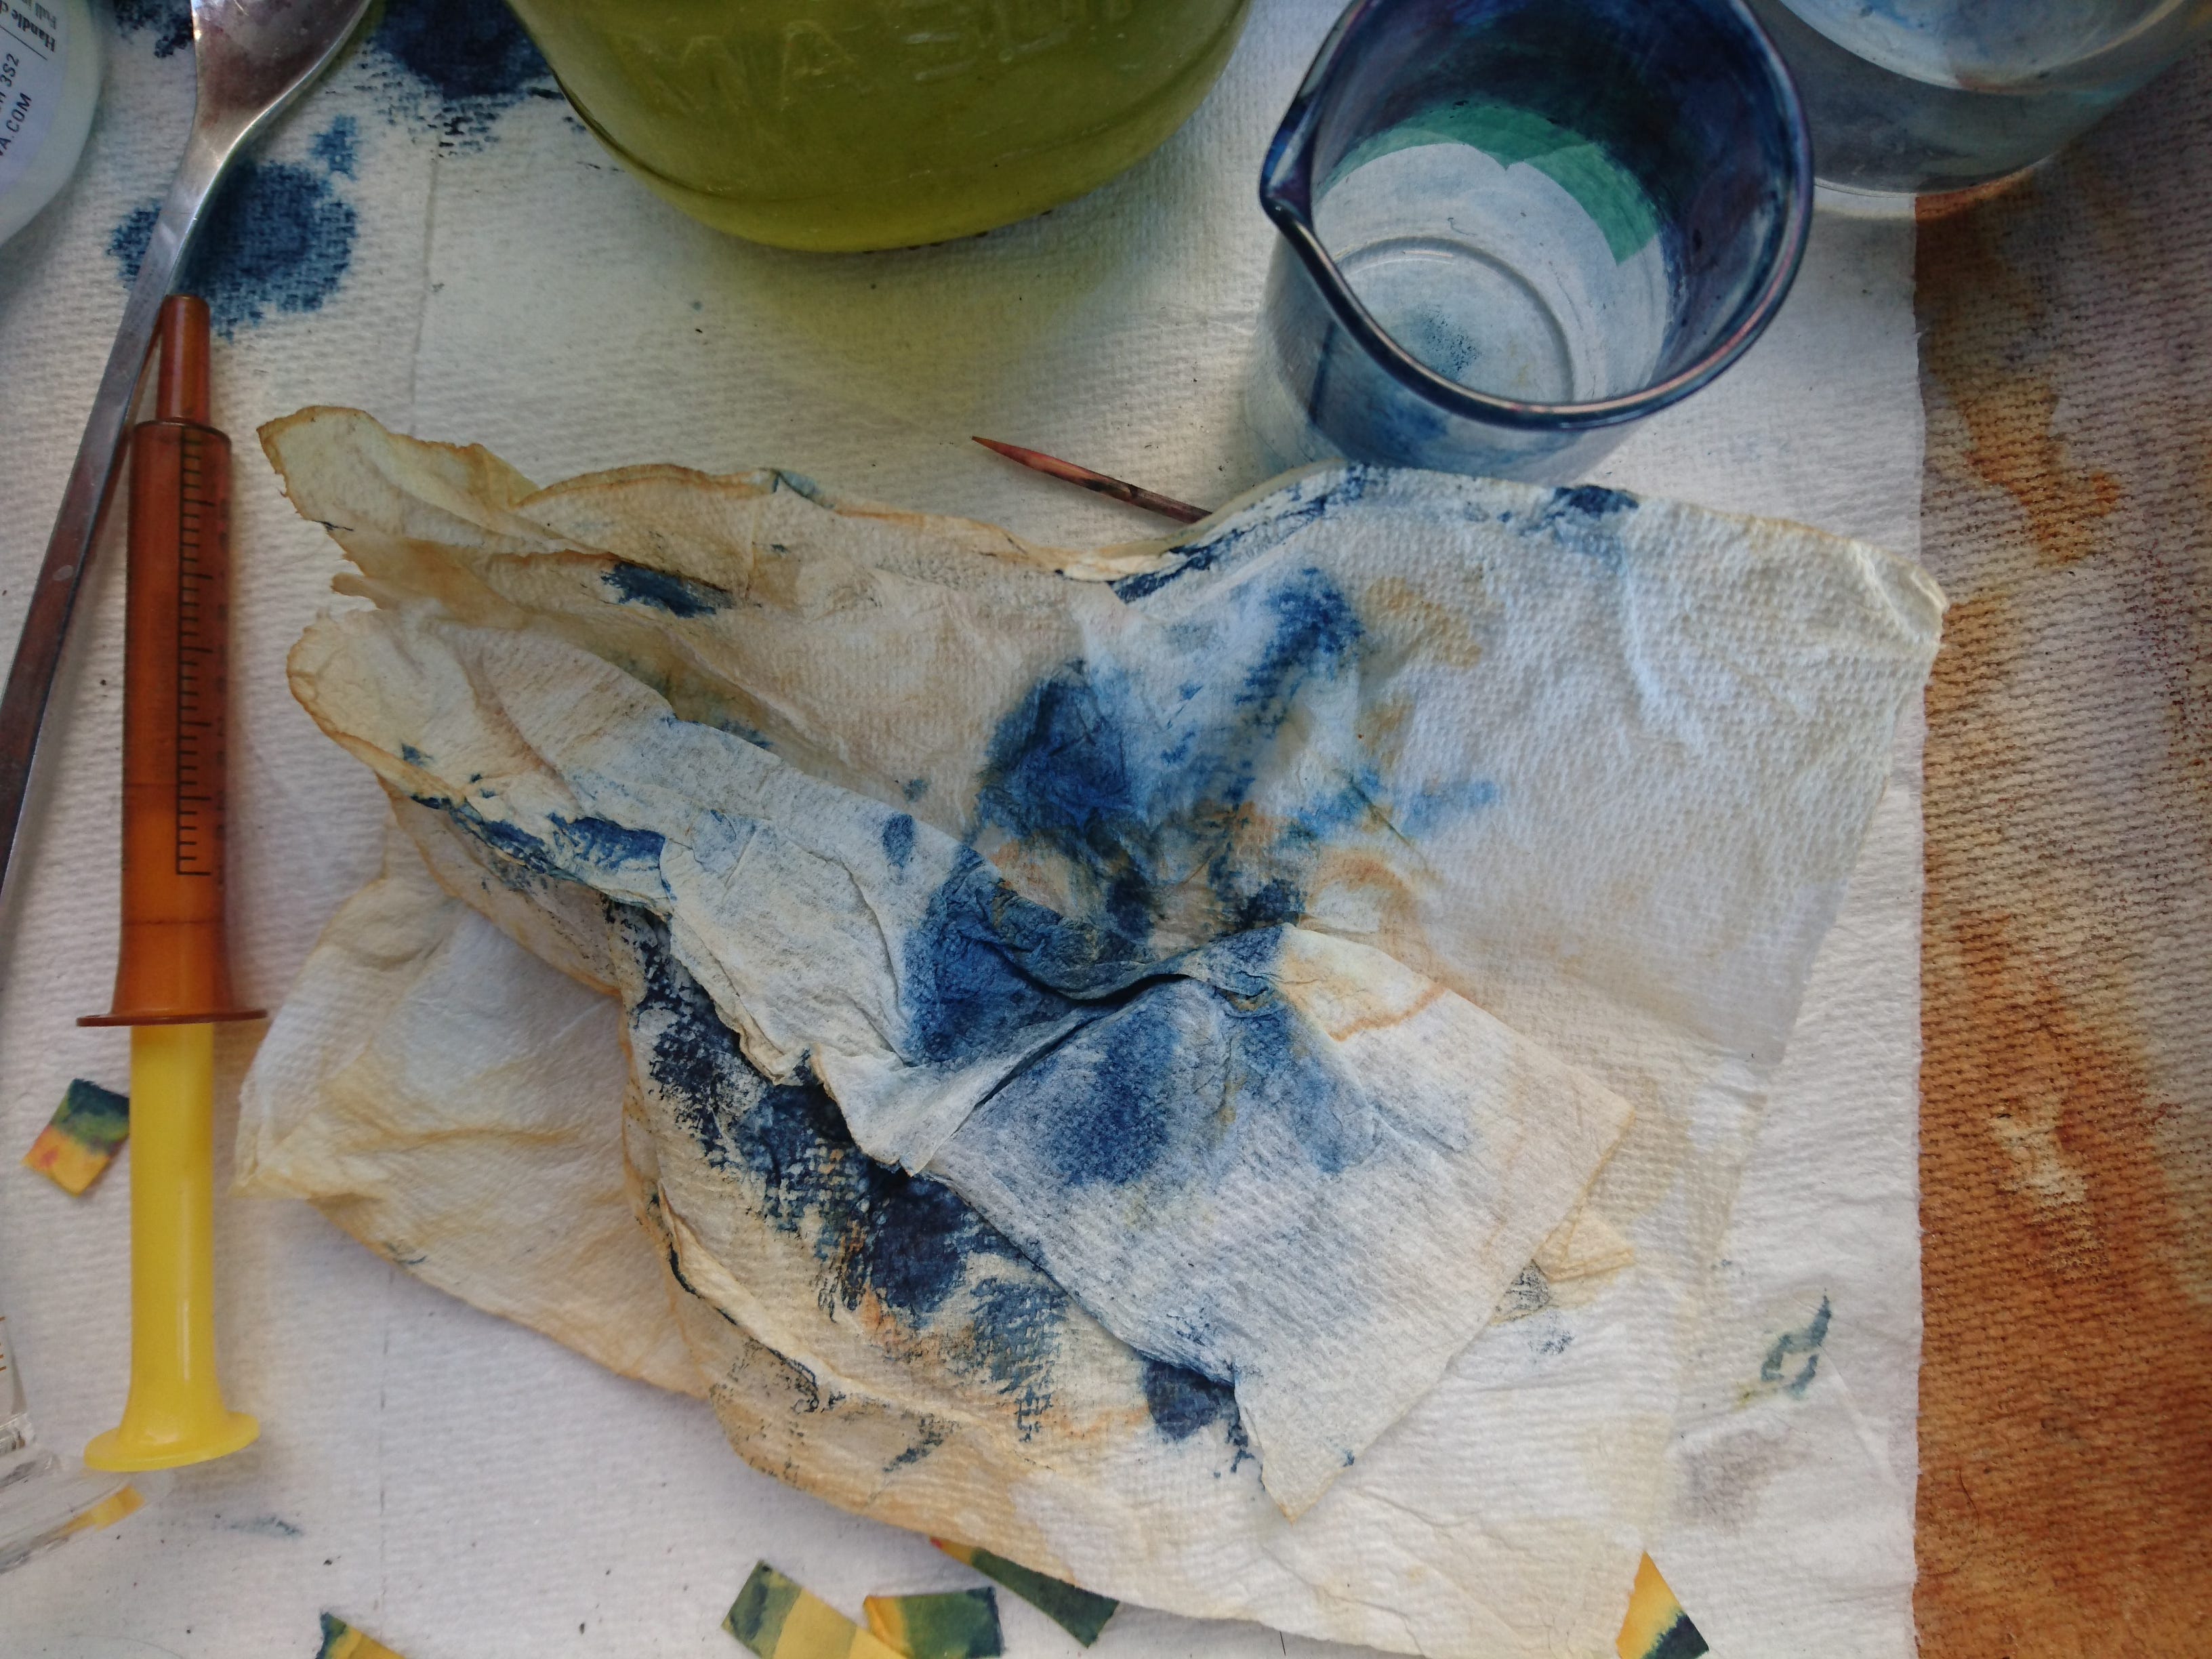
I have been outside during the last few days while I work with an indigo starter vat. The thiourea dioxide used in this vat smells foul. Between that fine powder, odour, and the calx (calcium hydroxide) the starter vat is quite the inhalation hazard and irritant. Thus, I have kept it in a beer flat on the patio table. My goal is to create a concentrated pigment with a pH of 9 or 10 that I can use to paint onto silk scarves. The recipes start the vat at pH 11, and need to be modified. Indigo vats have a waiting period after adding each ingredient. Between each modification to the vat I must wait, and during these times I am not idle. I read, document my progress, or research vending opportunies on social media. While I work I try to plan my tasks so that passive work can occur while I actively attend to certain tasks.
During my research I perused The Art and Craft of Natural Dying by J.N. Liles. It is a lovely book which focus on art history, specifically dye history. The pages contain numerous recipes tested by the author himself, full colour photos of the results of his tests, and his commentary of the success of each recipe.
The book is written in an older style. It is very thorough collection of the why how and when of each plant dye mentioned in the book. Each chapter should be read in full at least twice before attempting any recipe.
Passive work is akin to soaking dishes in the sink. The hot water and soap does not need my presence to loosen grime from the dishes. Active work is when I chose to step up to the sink and scrub those dishes. By managing these tasks with timers and understanding the techniques that require this passive work I am more efficient. There are a few items that I found help with this process.
If you have questions about using indigo vats or books about natural dying please feel welcome to ask in the comments.
Stainless Steel Pot
The first useful convenient item that makes dying fibre easier is a pot. Every dyer should have one large pot for doing larger products, or lots of little products. A stainless steel pot and lid can travel, endure bumps, and be used with every type of dying.
Induction Burner
I feel that an induction burner is an essential part of a dye kitchen. They are lightweight, portable, generally energy efficient, and less of a fire risk than an open flame or electric element. They transfer heat by generating a magnetic field that connects directly to the pot. This does mean that you need a pot with a magnetic base, but that is not difficult to find. My Tillreda induction burner is a simple retail model that I have used for three years. It has a wide range of temperature and watt settings, a timer, and a lock. When the timer ends it turns off the burner, so I use it constantly. When the weather is hot I can move it outside, and avoid heating my house. I can trust it to maintain temperature and shut down when finished.
I just bought a new Tillreda induction burner, and they removed some of my favourite features! The temperature or watts option setting is gone, and so is the timer. The LED display only shows a number that is associated with a watt setting in the user manual. The watts doesn’t go as low as it used to, too. This is awful. This is a prime example of ‘user friendly’ ‘improvements’ that truly creates worse iterations and terrible design.
I would trade the lighter weight and smaller footprint for those features in a heartbeat!
Wireless Thermometer
Just because a tool is trusted does not mean that it should be completely ignored. Eventually all tools fail. An excellent pair for an induction burner would be a wireless thermometer. Despite the fact that dye pots are generally passive (they do need to be stirred and frequently monitored), being able to monitor the temperature from another room is a blessing. While the pot is outside I can spend time indoors, sending emails or using the knitting machine. If I am clever I will even position the pot so that I can see into it from the back door. The wireless thermometer can have an alarm set on it so that I am alerted if the solution in the pot becomes too warm, which can damage many natural dye materials.
Bon Marie
Most if not all dying procedures (plant based/natural or chemical) should be done in a non-reactive vessel. This means glass or stainless steel. Glass jars can be great for storage, but not for daily use or travel. Pots can get expensive quickly, especially if they have a volume that can contain larger product. A bon marie is a tall stainless steel vessel that is used to cook food in a water bath. A single pot and a few bon marie can get a dyer quite far. The bon marie has an accompanying lid, but no handles. A pair of oven mitts makes it easy to remove a bon marie from a water bath, set aside the dye materials, and move a new one into the pot.
The flat lid makes it so that the pots can be easily stacked upon each other (at your own risk) when full, or nested when not in use.
Timers
The mind can only told on to so many tasks at once. Setting a timer is a good way for me to allow my mind to focus entirely on a task while something sits in the background. One or several remind me to check on a dye pot, stir a sample, move product between different baths, etc. Many timers can be purchased cheaply, and have a feature where they reset to the last used time. If there are several commonly used times then I pick up one for each. Five, fifteen, and sixty minutes are my most frequently used. I try not to use the one on my phone because I will get distracted by notifications.
Kettle
Much of the work of dying is dependant on water temperature. Some processes start cold and must be heated. Other start at a high heat and then the materials are introduced to the dye pot. Pots are not known for their ability to swiftly heat water to near boiling. Depending on your water source, a kettle or an automatic dispenser might aid you. I dye all of my natural dyes with the same filtered water that I drink. I also make a lot of small tests, and tannin in particular requires a specific temperature bath. Thus the kettle’s ability swiftly heat water on demand is essential for my dye practice. An automatic dispenser also creates specific amounts of hot water on demand, and may be more practical to some dyers.
Glass Stir Rods
Glass does not make a good vessel for large projects, or anything that must travel outside of the studio. It does, however, make an excellent non-reactive surface for stirring materials or agitating baths. The long glass rod is uniquely a “studio object” as opposed to stainless steel spoons which may be absconded with by the well intended if not labelled sufficiently.
Glass Beakers
A smaller vessel is useful when making small batches of mordant, extracting dye pigment from dye materials, dying samples, or dying small amounts of cloth. Jars can work in the interim, but the shoulders of the vessel make cleaning difficult. The jars will also eventually succumb to thermal shock, and shatter in the dye pot. The best quality beakers are made of borosilicate glass. They are labware, have a small coefficient of expansion, and thus their limited expansion or contraction when heated or cooled prevents seppukku through thermal shock. Borosilcate beakers are able to be ordered online, although they can be quite expensive. A cheaper alternative is to go to the surplus store and see if they have some kind of glass beaker there. The quality is dubious, but they are much easier to clean than a jar, and fairly cheap. The various sizes will also nest inside of each other, which saves space.
Silicone Lids
A set of stretchy, non-reactive silicone lids is convenient to have on hand. Beakers and many pots do not come with lids, or a lid will break. These are an excellent solution for room temperature and cold storage. I use them with my acetate solutions, because acetic acid (vinegar) will evaporate at room temperature. Restricting the airflow slows that process. It also slows tannin’s oxidation process, keeping the resource usable for a longer time.
Floor towel
This towel is a raggedy beast, long used, worn, and loved. One of its final tasks is to clean up messes that occur (mainly) on the floor. A designated towel for all spills, splashes, and messes will make a dyer’s life much less stressful. Need a drop cloth? Floor towel. Spilled something on the floor? Floor Towel. The pot or bon marie is too hot to move. Towel. I find it quite convenient to have a towel hanging beside the sink, and using it to dry all manner of pots, tools, and my hands. With it hanging beside the sink the airflow in the room dries the towel overnight, and it is ready to use the next day (and washed biweekly).
Never go anywhere without your wonderful towel.
-paraphrasing Douglas Adams’ book A Hitchhiker’s Guide to The Galaxy
These tools make my work more efficient, saving labour and strain.
Every craft and trade has tools that make life easier. They are user friendly, simple, fill a niche that saves time or labour, and are often from an usual place or adjacent trade. What tools serve this function in your own work?
The Art and Craft of Natural Dying by J.N. Liles
https://books.google.ca/books?id=VUW-l1Wg1wYC&pg=PA1&source=gbs_toc_r&cad=2#v=onepage&q&f=false
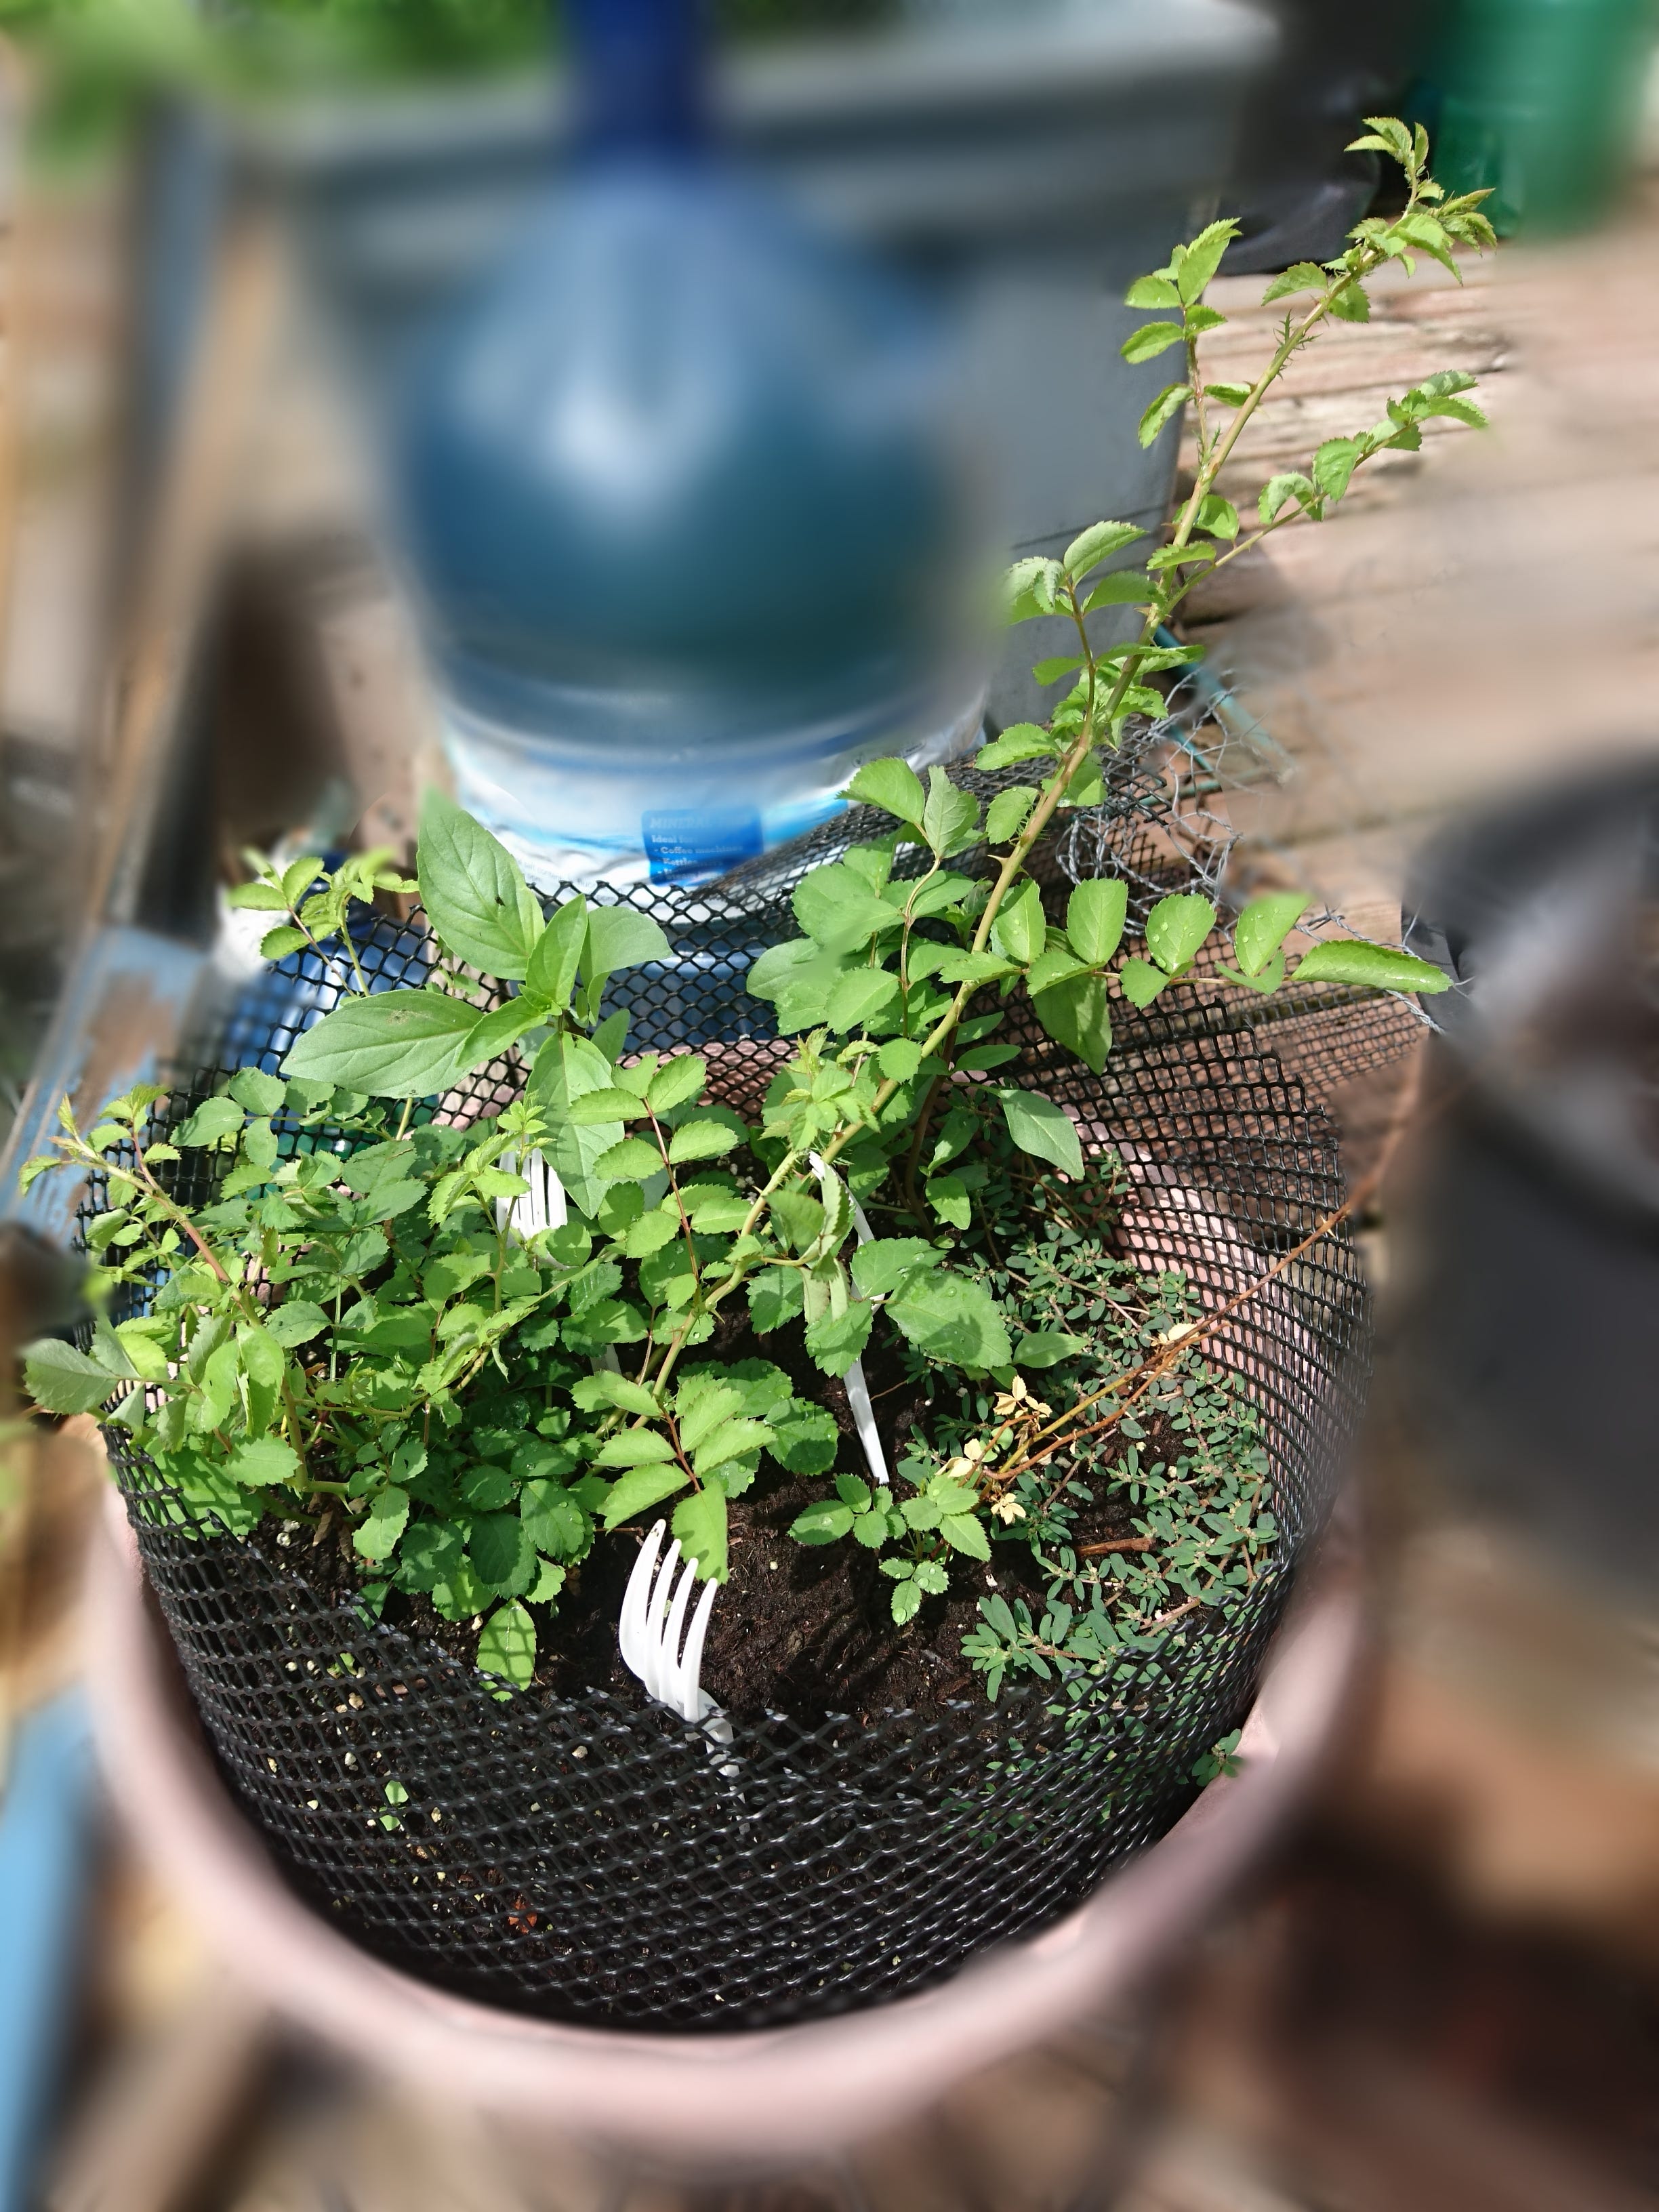
I'm glad you caught it before it got too crazy! I don't know much to suggust, though I will ask my mother and boss at the farm about less agressive ground cover!
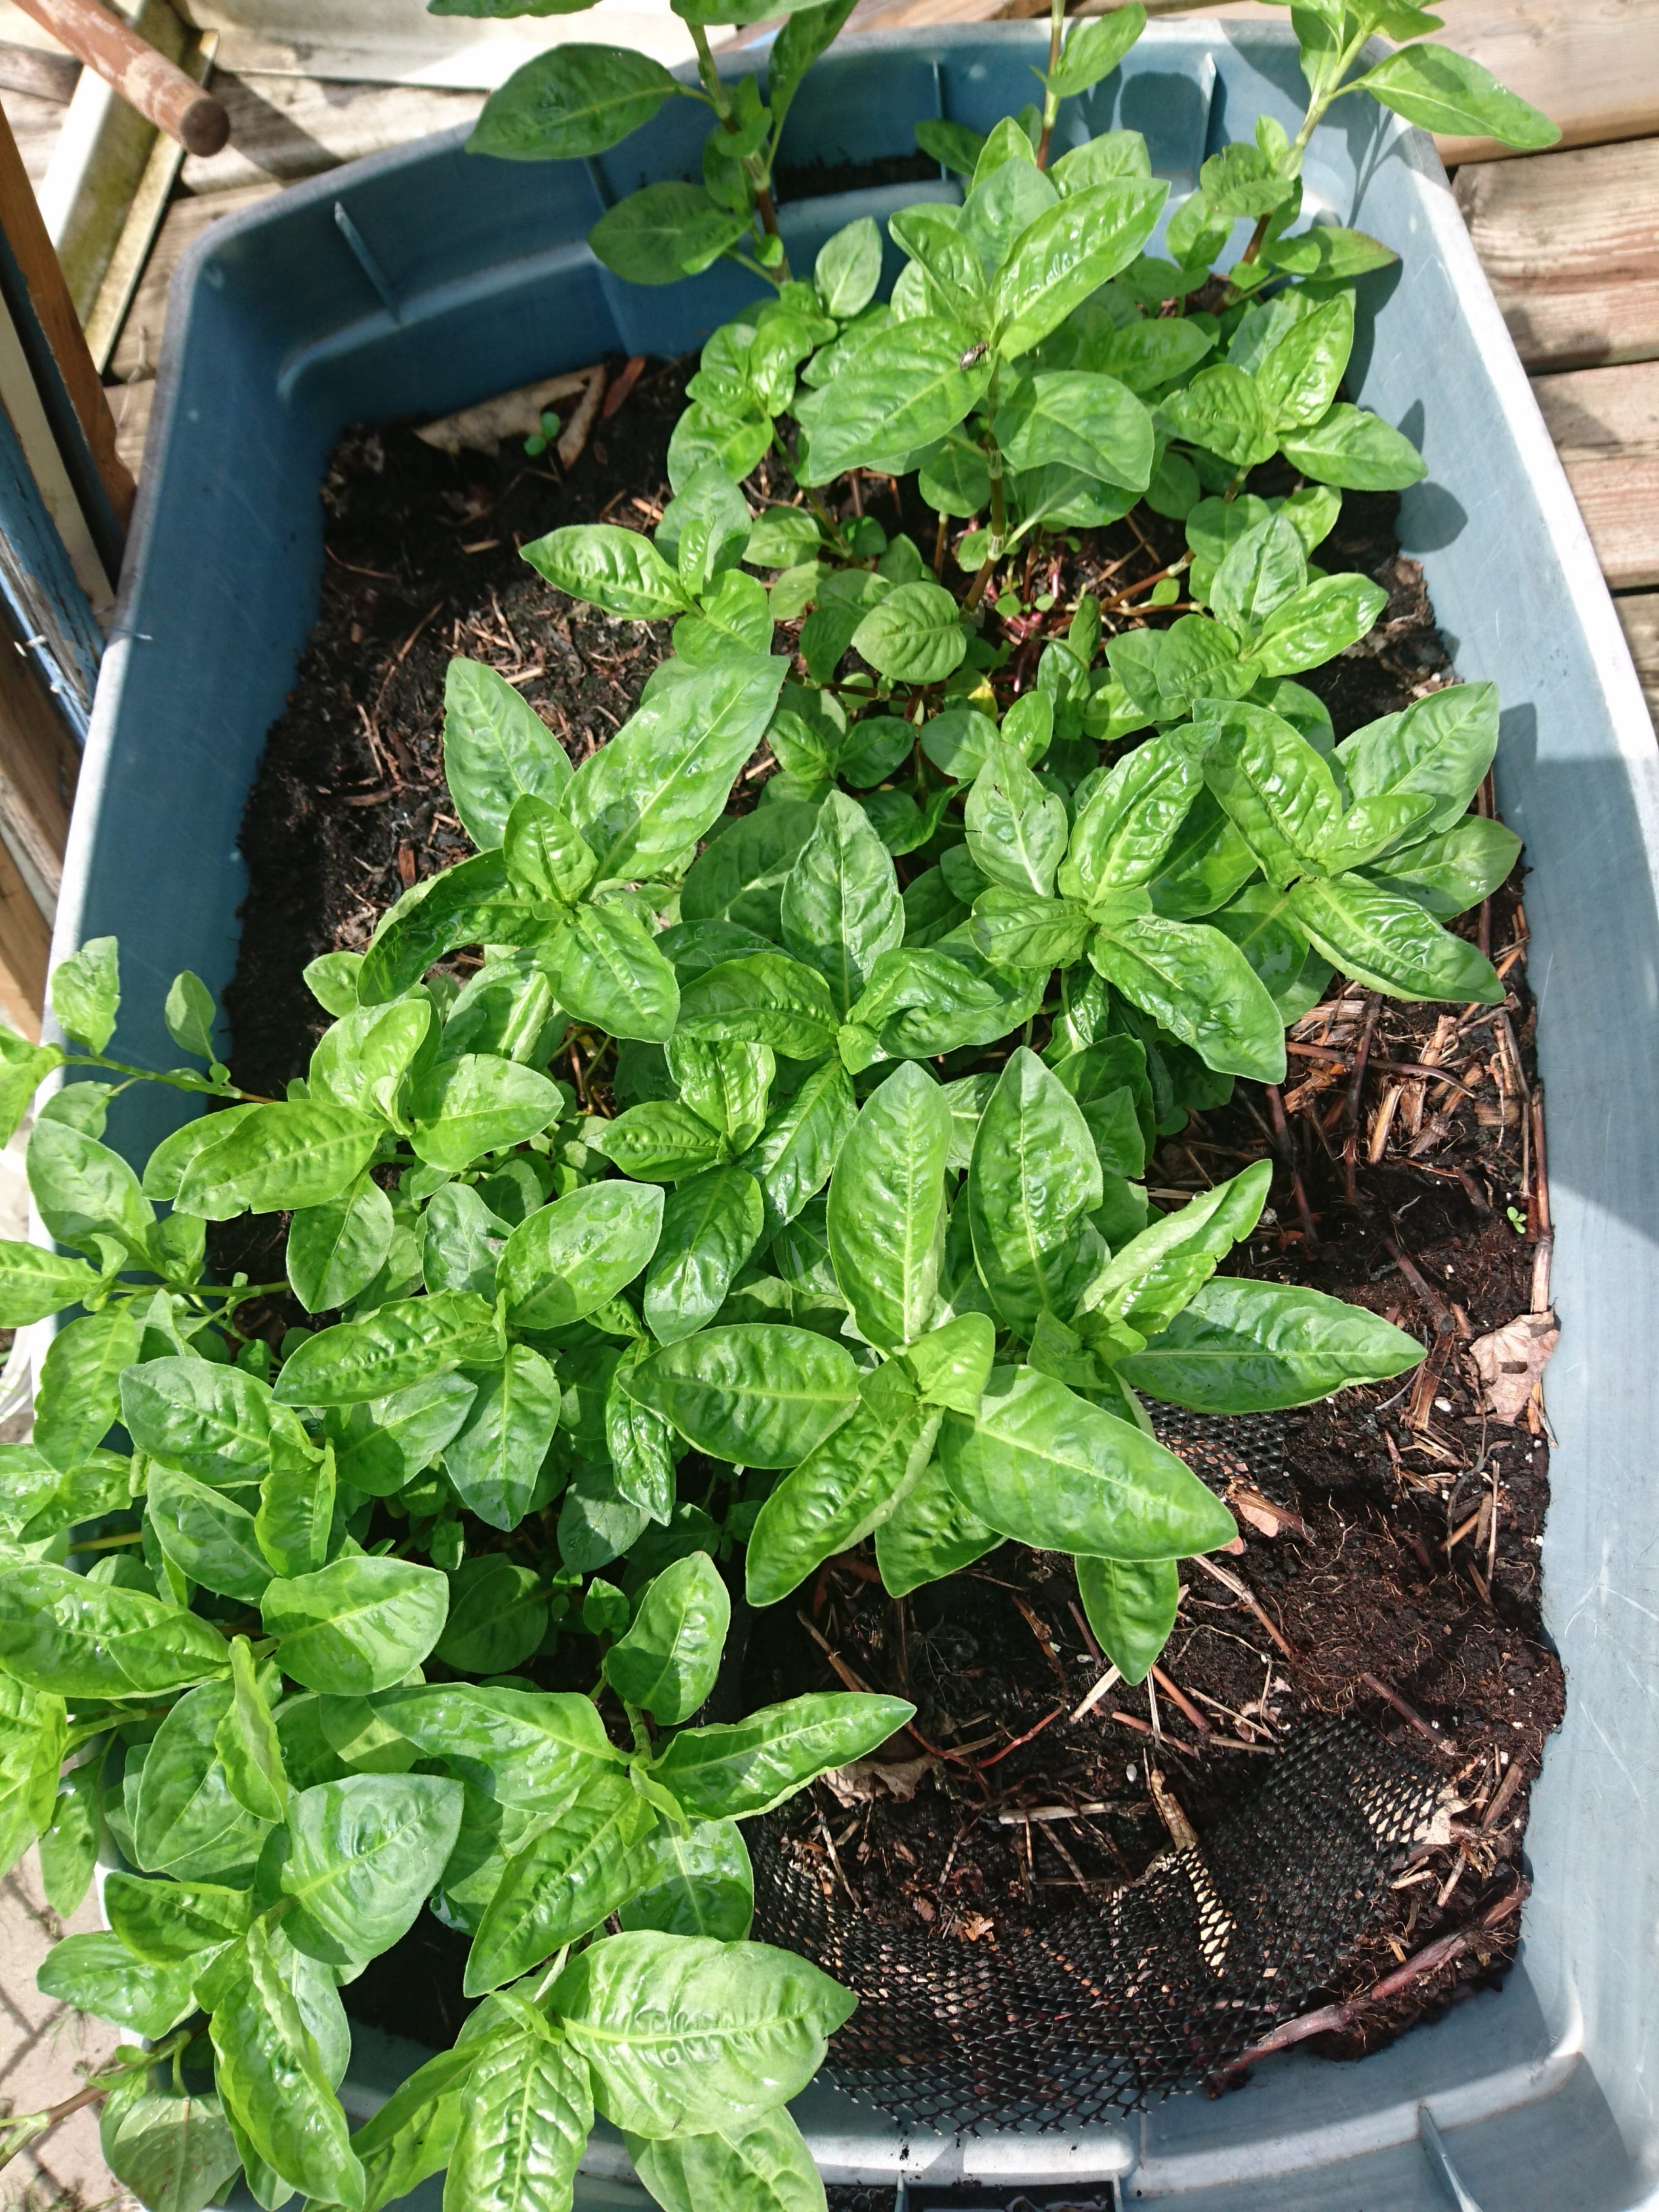
Fresh indigo dye, as supposed to fermented? My boss sent me an artical about fermenting it though I can't have a large enough tub yet, nor a PH measuring utensil.
So, cold bath of fresh indigo dye? That sounds simple enough. I'll look it up a bit, though i did see ppl getting gray wich is what I hope to avoid. Workshop is August 22! Just a free thing at a youth camp, thought it would be fun to add it, though I'm mostly just itching to use my plants! :))
Careful about the low growing weed in there with your rose! We have them on the farm and they can be really aggressive and out complete everything around them!
What is the simplest way of making an indigo dye? I have a little dye workshop with some youth at a camp coming up and I have indigo growing in my garden this year. Would love to introduce it along with the dyes i'm more familiar with! Would love some simple tips :)
Best,
Autumn