
A Little Plant Panic
A Little Plant Panic
I panicked, too, and other garden shenanigans

This week I harvested the indigo plants. When I cut my plants it is a dance. Not too high, not too low. At each node the plant can grow leaves or roots, so I choose a node that has small leaves growing, and cut just above that node. Each cut stem also needs to have enough nodes and live leaves so that it has enough energy to grow roots.
Last year I placed the stems into fresh loose soil. When I tried that this year the plants began to panic. Perhaps it was because I put them in a mix of older and newer soil, or because I didn’t pay attention to the stems last year as they panicked. In the indigo plant’s panic more leaves became yellow and died. I pulled all of them from the soil and immersed them in fresh rain water.
I pull a stem to the side, examine its length, select a node, cut, clean the dead leaves off, and deposit the stem in water or soil. Pull, glance, cut, clean, place. Slow, slow, quick quick slow. It’s similar to a tango dance.

I read the paper “Microbial Communities Associated With Indigo Fermentation That Thrive in Anaerobic Alkaline Environments.”1 This style of writing can be very heavy for me, because I am not a biochemist. It is taxing to hold the acronyms, symbols, and new terms together in order to comprehend what is being discussed. After consulting with a friend, and researching terms on the internet I was able to finish reading the paper. In the paper they monitor and compare the bacteria inside of two different indigo vats over multiple months. It confirmed my intuition on a few points.
Fermentation based indigo vats…
Contain successive biota as the environment inside of the indigo vat reduces.
Bacteria create pockets of more habitable environments.
Contains multiple bacteria types and strains. No two indigo vats are likely to be the same because of subtle differences in food, age, temperature, and location.
Can be created using a variety of bacteria sources, including fermented P. tinctoria leaves or madder or wheat bran or other sources of fruit sugars.
Have feeding rhythms similar to a sourdough starter or fermented beverage.
Fresh or dried leaves can provide pigment, but unless pounds of leaves are used there is not enough pigment for a strong indigo vat. Much like woad, many fermentation vats use composted leaves to seed bacteria similar to a ‘sourdough starter.’
Have a wide temperature tolerance and an ideal temperature for use.
Naturally have a lower pH which allows a dyer the ability to dye protein fibres with less fear of damaging the fabric
Do you know what a quinone or redox mediator is? I didn’t, either.

I discovered that the indigo vat recipe on Aurora Silk’s website2 is based on one by J.N. Liles.3 Fortunately I own that book and read the section of “The Art and Craft of Natural Dyeing,” which reviews the various methods to produce fermentation based indigo vats. Liles also includes a history of each dye method, which helps frame the technique in a story instead of a to-do list. John Marshall’s book, Singing the Blues, describes strategies for starting a sukumo vat.4 After this extended bout of research I am comfortable enough with the idea of starting a vat, and do not plan to rush into it.
I may save the dry leaves until next year.
Here are the plants before harvesting
They have large yellow-green leaves. Each stem is leaning quite far in order to catch sunlight. On the centre part of the stem are dead leaves, their structure abandoned as resources are redirected to new growth. The space between each node expands. Yellow tips and red stress lines are on many leaves. The entire lot is light yellow-green, not the deep dark green of healthy, indican filled leaves.

Stems growing in the water
After the stems were cut and the plants had a moment of panic I placed them in a bucket of rain water. This allows me to actively observe each plant as their nodes began growing roots. I add soil or compost to the water to provide some nutrients. The roots start as tiny white dots that push out of the plant under the node. In the first image the two nodes to each side have tiny white dots lined with red. The second image has an example of larger roots.

One of the advantages to soaking the stems is that I can watch them grow new roots and ensure that the plants are not failing to thrive. This also works well for indigo because it is a plant that loves water. Honestly, I probably should have left them all in the soil, and not rush to move them into the water. Indigo are strong, enduring weeds.
The stems should be freshly cut before pushing them into the soil, or have recently been removed from water. The fluid in the stem will help keep the shaft from collapsing as it is steadily pushed into the loose soil. When a stem collapses the tubes that transfer water and nutrients are broken. The plant must be cut above the break and the damaged section discarded. At least two nodes must be pushed under the soil, ideally three. If the soil seems stiff the stem can be removed before being steadily pushed in at the same spot.

Here are the plants after harvesting
It has been five days since I culled these plants, and four days since I set the stems aside in water. Look at the area from the top left to the bottom right. That is where all of the cut stems and new growth is. Look at the green colour of the leaves, and their relative size. The small new growth is dark. This August has been rather cool, and full of thunderstorms. It reminds me of when I was little, and makes the indigo happy, too.

The plants have relaxed and begun to grow new leaves. Harvesting the stems has encouraged the plants to grow more stems. Each cut should result in two to three times the number of blooms, thus more seeds. The stems should also recover and begin to producing their own blooms as we approach Mabon (the autumnal equinox). More leaves, more flowers, and more seeds for me.
Perfect!
In other garden news
My thai basil have started blooming. This is the self seeded plant that is accompanying the rose bush. It is going strong, unlike the thai basil that I purchased. Hopefully I will have lots of seeds for next year, and can trade some at a seed swap. The chocolate mint from my Grandma and the self seeded catmint are of a similar mindset. This makes the bees very happy.

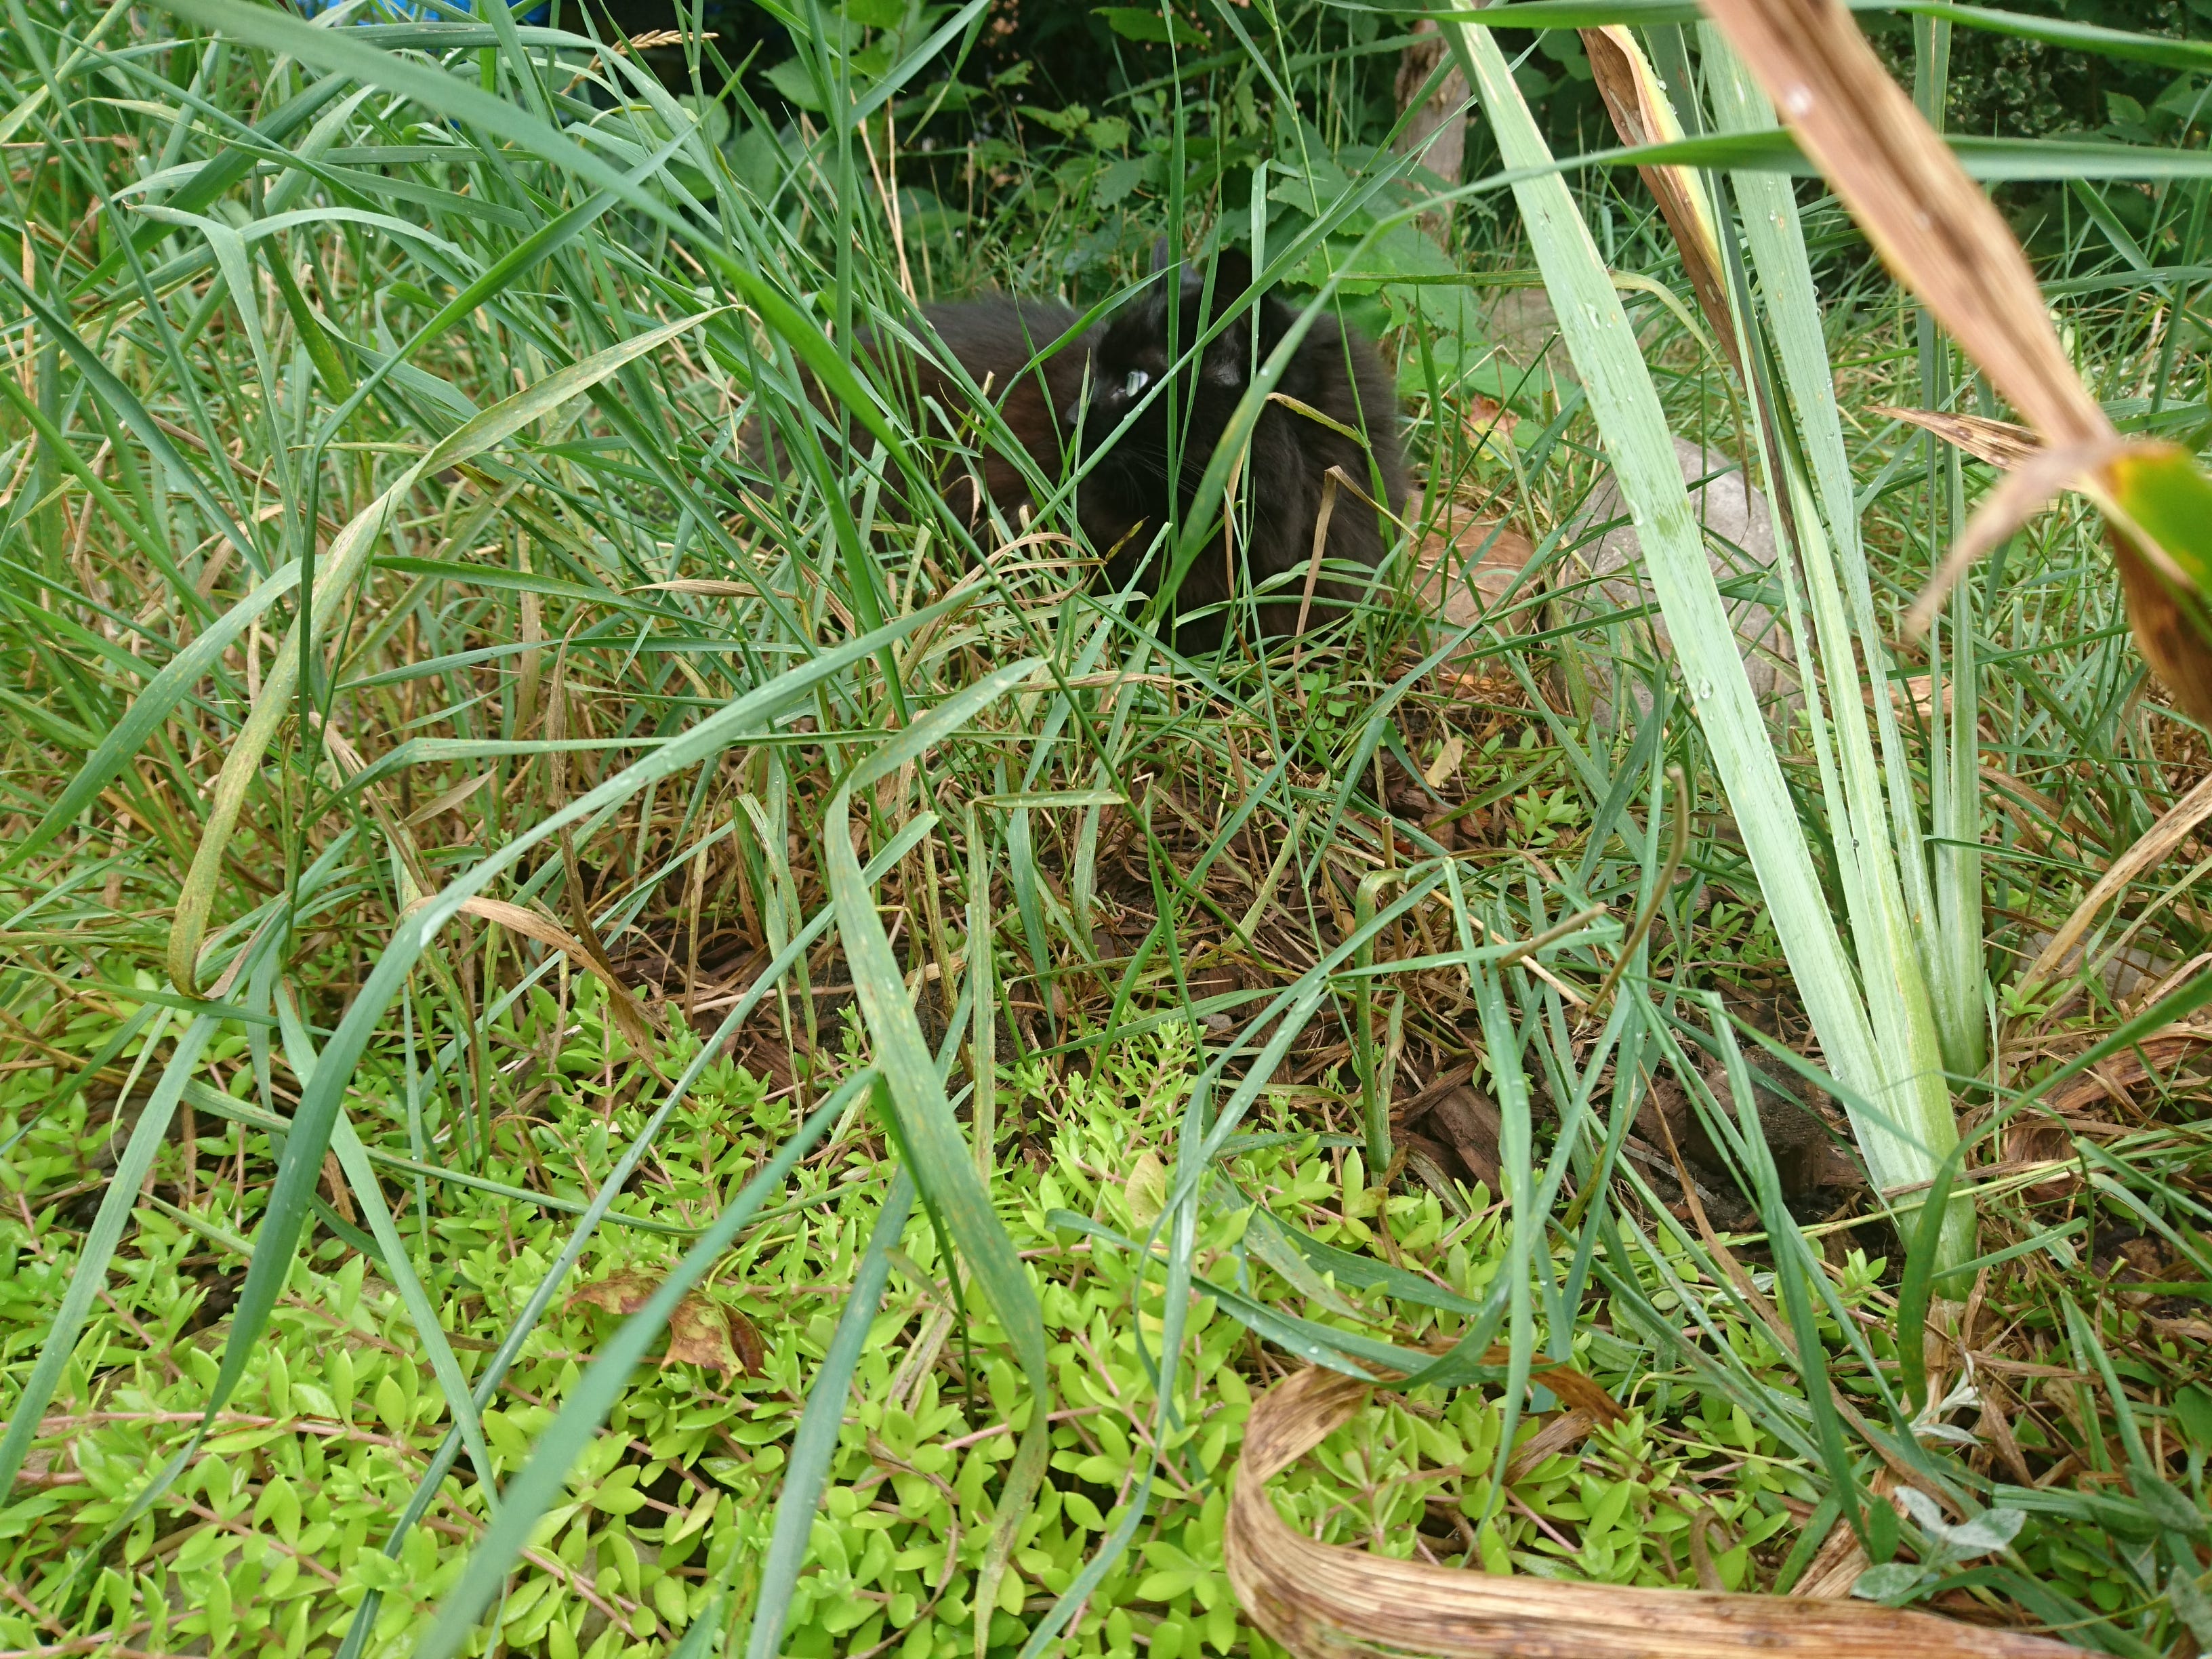
Nummite has been insisting on a brief morning romp each day. I have some conflicted views regarding her time outside, and if she should be outside. I may elaborate on that at another time.
Do you wish to purchase some naturalized Canadian Persecaria Tinctoria? Comment below to show me your interest, and I will prepare some packets to sell online.
https://www.ncbi.nlm.nih.gov/pmc/articles/PMC6153312/
https://www.sciencedirect.com/topics/chemistry/quinone
https://www.sciencedirect.com/topics/engineering/redox-mediator
https://aurorasilk.com/wp/2019/01/01/indigo-natural-fermentation-vat/
https://maiwa.com/products/art-craft-of-natural-dye
http://johnmarshall.to/I-book-BluesPB.htm
You have a tremendous gift and a beautiful helper kitty cat. Keeping the "lost arts" alive is such an admirable quality.