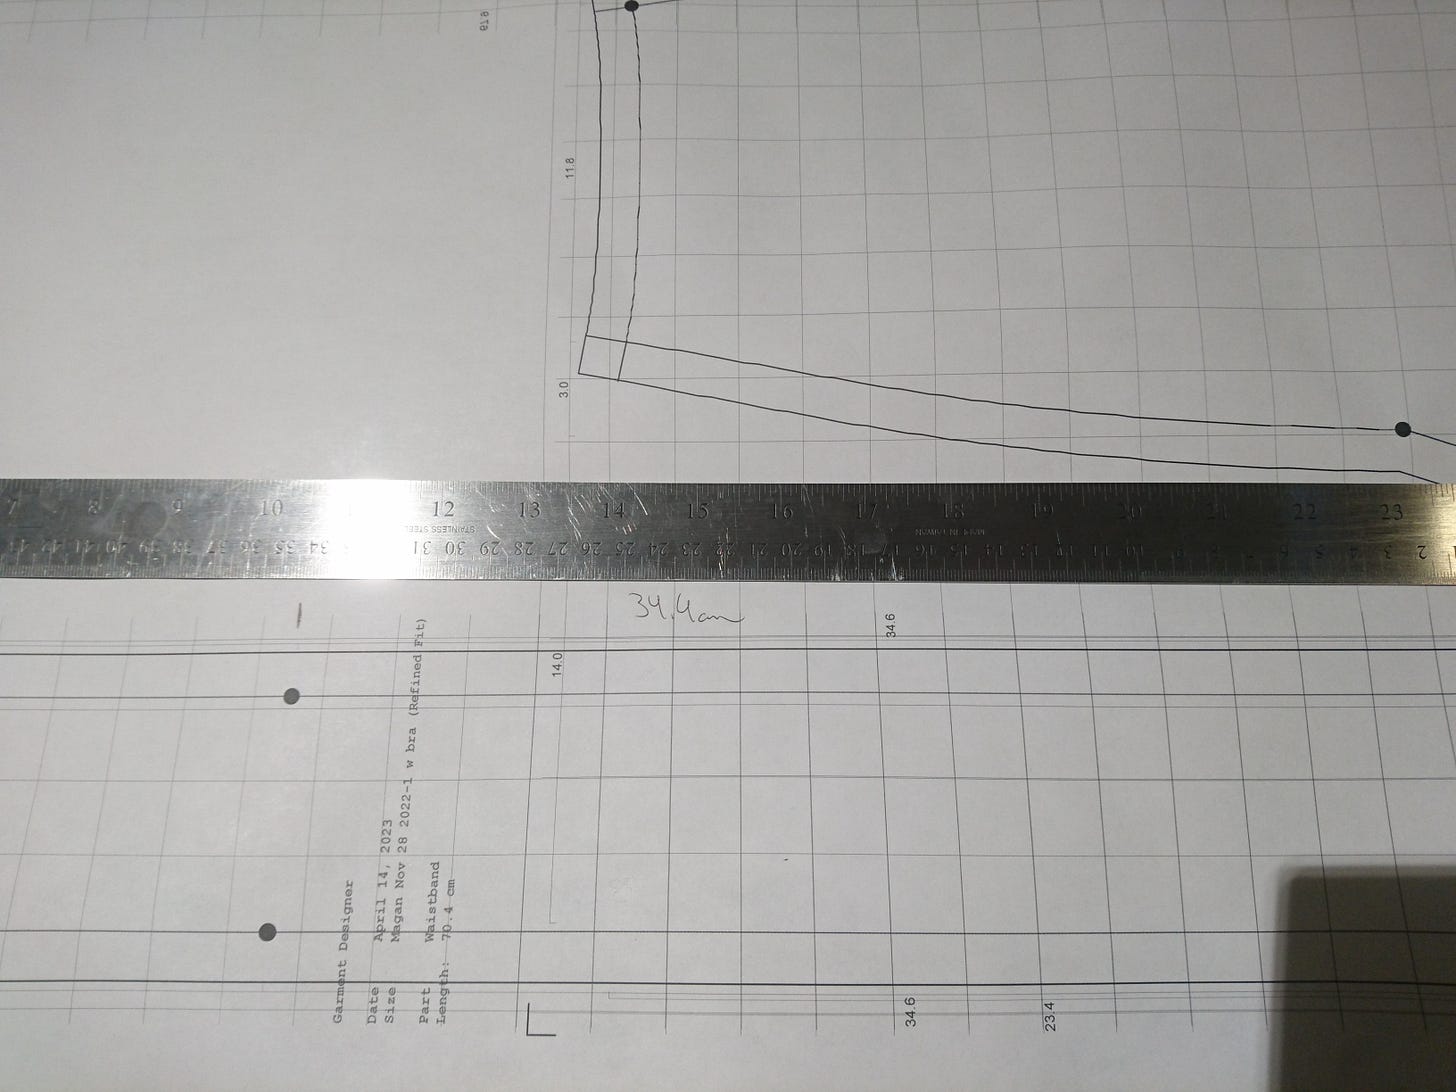
When a pattern is from the printers it is in my best interest to double check the measurements. I take the longest one that I can, because it will maximize any problems, and make them easier to see.
My measurement is off by 0.6cm. This is not good.
I quickly double check my PDF’s measurements. The red bar matches the height of the measurement to the right of the garment, and it is 67.9cm. It is not my PDF that has an error. This means that the paper shrank when it was printed. It’s a good thing that every piece was oriented the same way, because it all shrunk the same.
Then I check a width measurement, and find that there is practically no shrinkage. 46.8cm at the hem became 46.75cm. Not shrinking. None. Nada. This means that I won’t have problems around the waist and hips. It’s just in the length.
Shrinkage problem: approx x0.01 / 1%
B P sloper c test 12, Centre back seam 60.4cm-60.9cm = 0.5cm shrinkage 60.9/60.4=1.0083
Gores skirt 5, Height of skirt 67.3cm-67.9cm = 0.6cm shrinkage. 67.9/67.3 = 1.0089
Still seems significant enough to cause problems with skirt. Only lengthwise on paper, not width wise.
What to do? Stretch the PDF and reprint it?
67.9cm*1.0089=68.504cm
My concern is that the skirt length being 0.6cm shorter is going to cause problems with where the fit and flare is on my body. Is it going to be too high for my hips? Should I try to extend the pattern and hope that it shrinks to the right length when it is reprinted?
“If it’s 0.6cm over the entire length, then it is 0.2cm over one third. It’ll be a bigger deal which panties you are wearing.” - the voice of practical wisdom
I’m going to go forward with it, and try not to worry. When I put the pattern down on the fabric I can see if there is extra room, and extend the length of the skirt. Since it’s a straight line from the point at the hips to the edge of the hem this will be easy. Especially because the hem is the correct width.
I grab my paper cutting scissors and get to work. Under bright lighting and while half listening to a lecture I carefully work my way down the paper, never closing the blades completely. I find that completely closing the blades creates a kink or tear from the blunt tip of the blade, and more resistance when opening the scissors again. It’s precise work, and so I find myself hunching quite frequently. I avoid hunching with the same fervour with which I avoid kinking the paper. Cast offs are sent to the floor, and completed pieces are gently rolled back into a tube shape before being set aside.
“Every aspiring seamstress, hand sewer, or textile artist should have three pairs of scissors: a pair for paper simply called scissors, a pair for fabric called shears, and a pair for tiny threads called snips. This variety of purpose dedicated blades will save the wrists from strain, the eyes from exhaustion, and the mouth from curses.” - me
Drawing The Pattern Onto The Fabric
When I lay out my patterns this is my order of operations:
Iron fabric
Please fabric nicely on a flat surface, right side down, with no wiggles.
Place paper on fabric
Align to grain
Smooth and weigh down (use rulers, scissors, washers)
Poke pins in key places (dots, bends)
Trace outside of pattern with pen (I should be using a pencil, esp. for this project.)
Mark important places on the cloth while removing the pins
Trace lines between important marks
Start cutting the outline of the pattern pieces
There is a bit of fiddling required to double check these pattern locations. I don’t want to put everything down and realize that there is a lack of space. In order to save some stress, before I place the pattern paper down I am going to iron it flat. Iron paper on the blank side, or the toner will be smudged.
I allow the papers to cool while ironing the cloth. Each section is ironed under high heat with mist and a little steam. It’s also important to iron the cloth so that it is straight, and without wiggles. The cloth is allowed to cool before I move onto the next section, and I try to keep each section flat as I work on another.
Tracing the paper and adding sewing lines on to the fabric wasn’t too bad. It’s mind numbing work that hurts my eyes. A person who is more confident in their sewing skills may forgo the sewing lines and simply trust that the edges of the cloth will be cut perfectly, and go into the sewing machine perfectly. I know myself better, and the markings displaying where the seams should line up helps me a lot. Especially with the waistband and hem.
The pattern pieces fit just perfectly on my cloth, so it is a good thing that they shrunk a little bit in length. Otherwise there would be much fussing and panicking.
Testing Seams
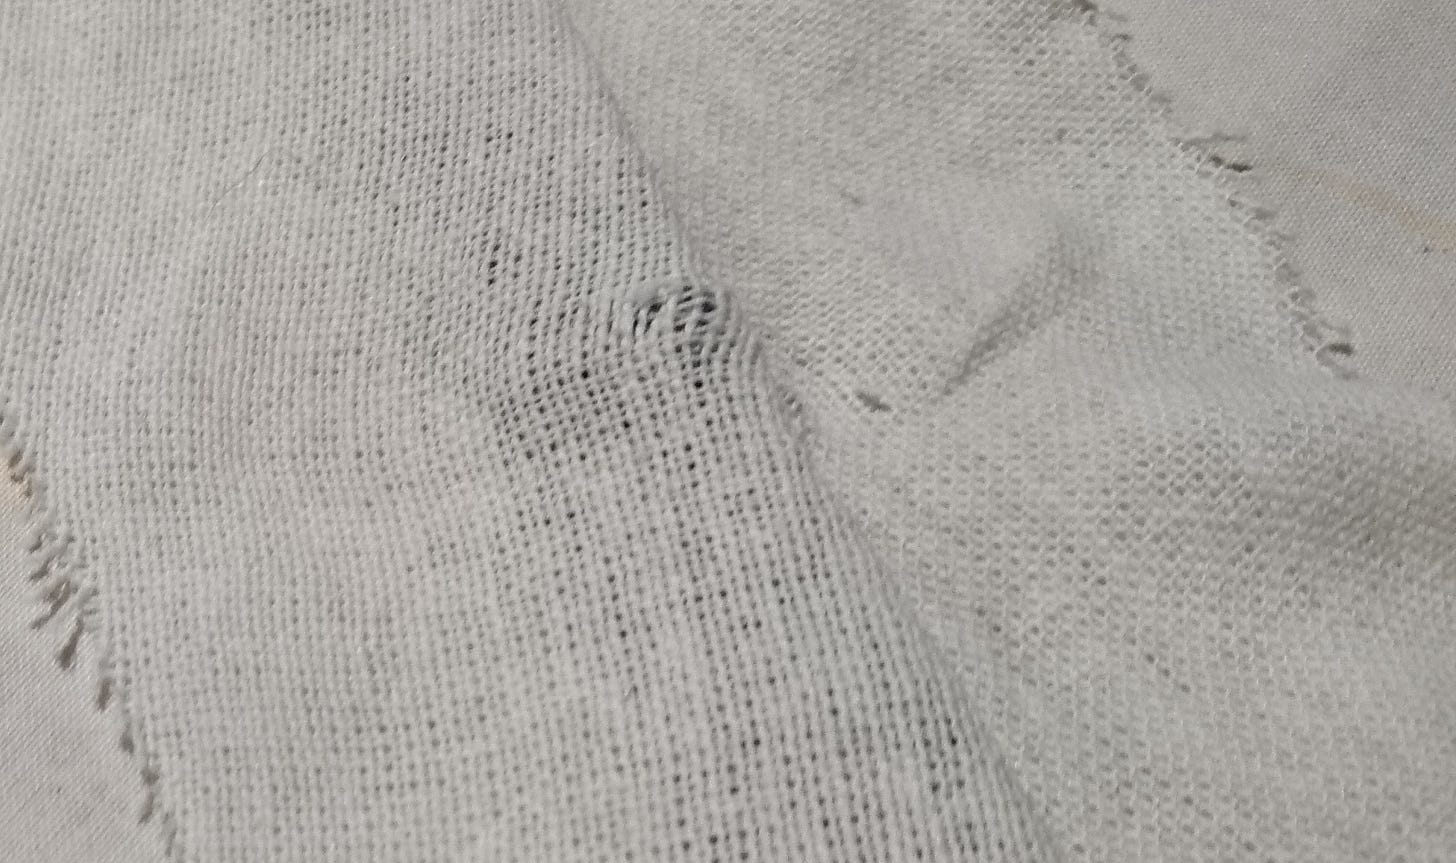
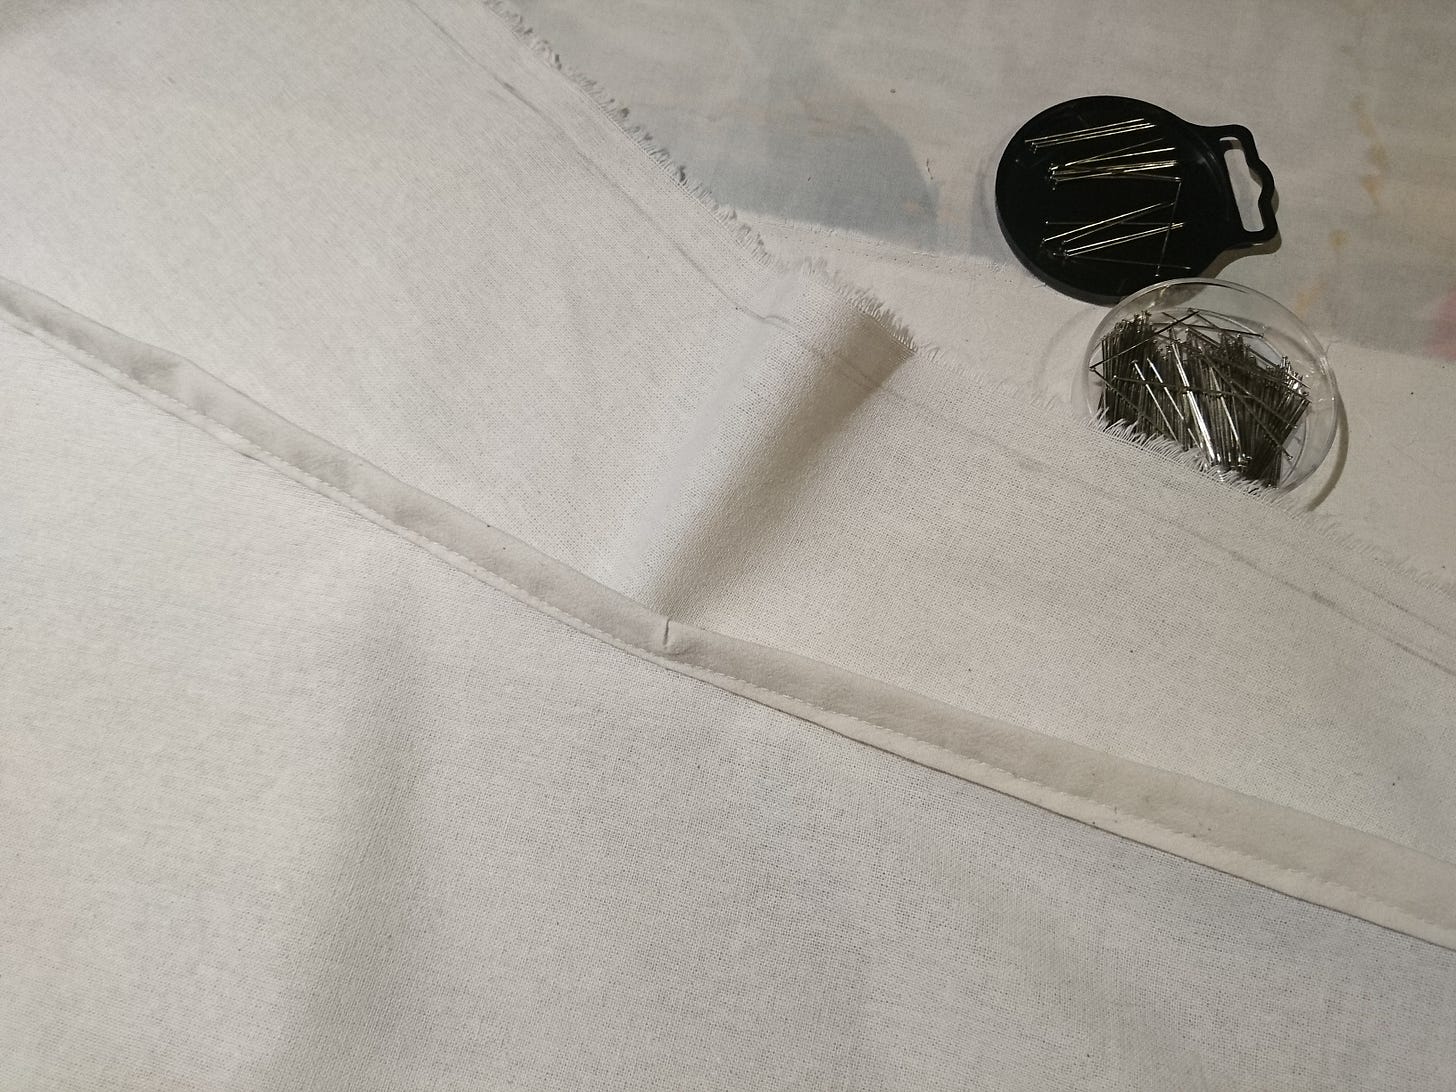
Before I can crack into the first step of sewing I need to test my seam casing. I am worried that my fabric, which is referred to as a “handkerchief linen” (despite the 45%/55% cotton/linen blend), will shear apart under excess stress. Having one’s skirt implode mid bend would be most embarrassing, so I made a test with the excess fabric.
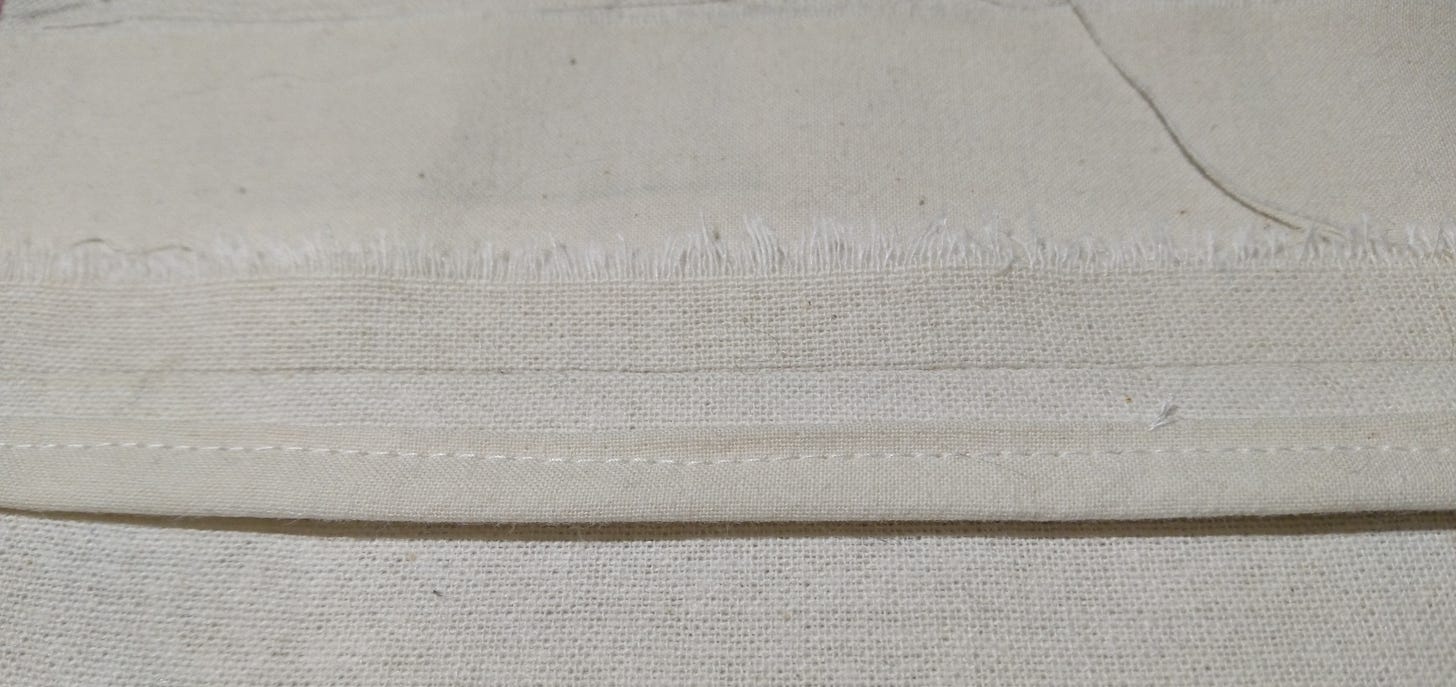
Creating a test swatch allows me to understand the technique and preform a stress test on the technique with out being overly fussy. This technique forms a tube around the seams, encasing the raw edge and making two rows of stitches. One holds the seams and the first layer of the tube. The second row of stitches pins all of the layers together. The stress test is to find a strong person and have them try to tug the pieces of cloth apart. When tested the fabric gave before the seams did, despite using cotton thread. Breaking the threads in the fabric took a lot of force. I’m not worried about the seams if I use this seam technique.
Finally Sewing
I start by sewing all of the side seams, working my way around. The panels attached to the zipper are set aside. The side seams are laid right sides together, have a strip of fabric lain on top, and pinned together. Then every side seam is sewn, ironed, ironed, sewn, and ironed again. I work on the zipper after I have assembled the other size panels together, and am more comfortable working with the fabric.
I could fuss and pick and redo this seam until I get it perfect, but there is a point where one must establish what their “tolerance” is for imperfections. This can change drastically during a project. There are times that something should be redone because it will you. I know that I get haunted by some errors that would have been easier to fix at the moment it occurred, instead of ten steps later. In this instance, the best way to improve is to press forward and learn by doing.
I like to test my projects as I go, sliding my arm through sleeves and draping skirts on my body. It is very motivating to see a project come together on your body.
Zippers
They and I are not friends. My sewing skills are primarily self taught, and acquired from an amalgam of sources. My Grandma has helped me learn a lot, but zippers and I are not friends yet. This zipper is being added to a seam that is supposed to be encased in a tube, so I am going to do some by-the-seat-of-my-pants problem solving. There are certain qualities that the seam should have when completed: it should be sturdy, the raw edges encased, and have a second fabric for achieving this. I stitched the side seam together with a layer of my tube fabric on either side, then pressed it open. Then I wrap the tube fabric around the raw edge, and slap the zipper on.
Next is the moment of truth. I have to cut the seam open to reveal the zipper, and if I messed up I have to restart.
I’m not entirely sure how to deal with the rest of this seam. The edge are closed, but they don’t have the strength that the tube provides. The section with the zipper will be strong, so it might not be a big issue. Normally I would leave one side seam open, maintaining a “flat” cloth for as long as possible while I attach the waistband and hem the skirt. The tube complicated this, so I will finish attaching all of the side seams together.
That’s all for this week. Next I will finish the hems, the waistband, and discuss what I would do for future skirt projects.


